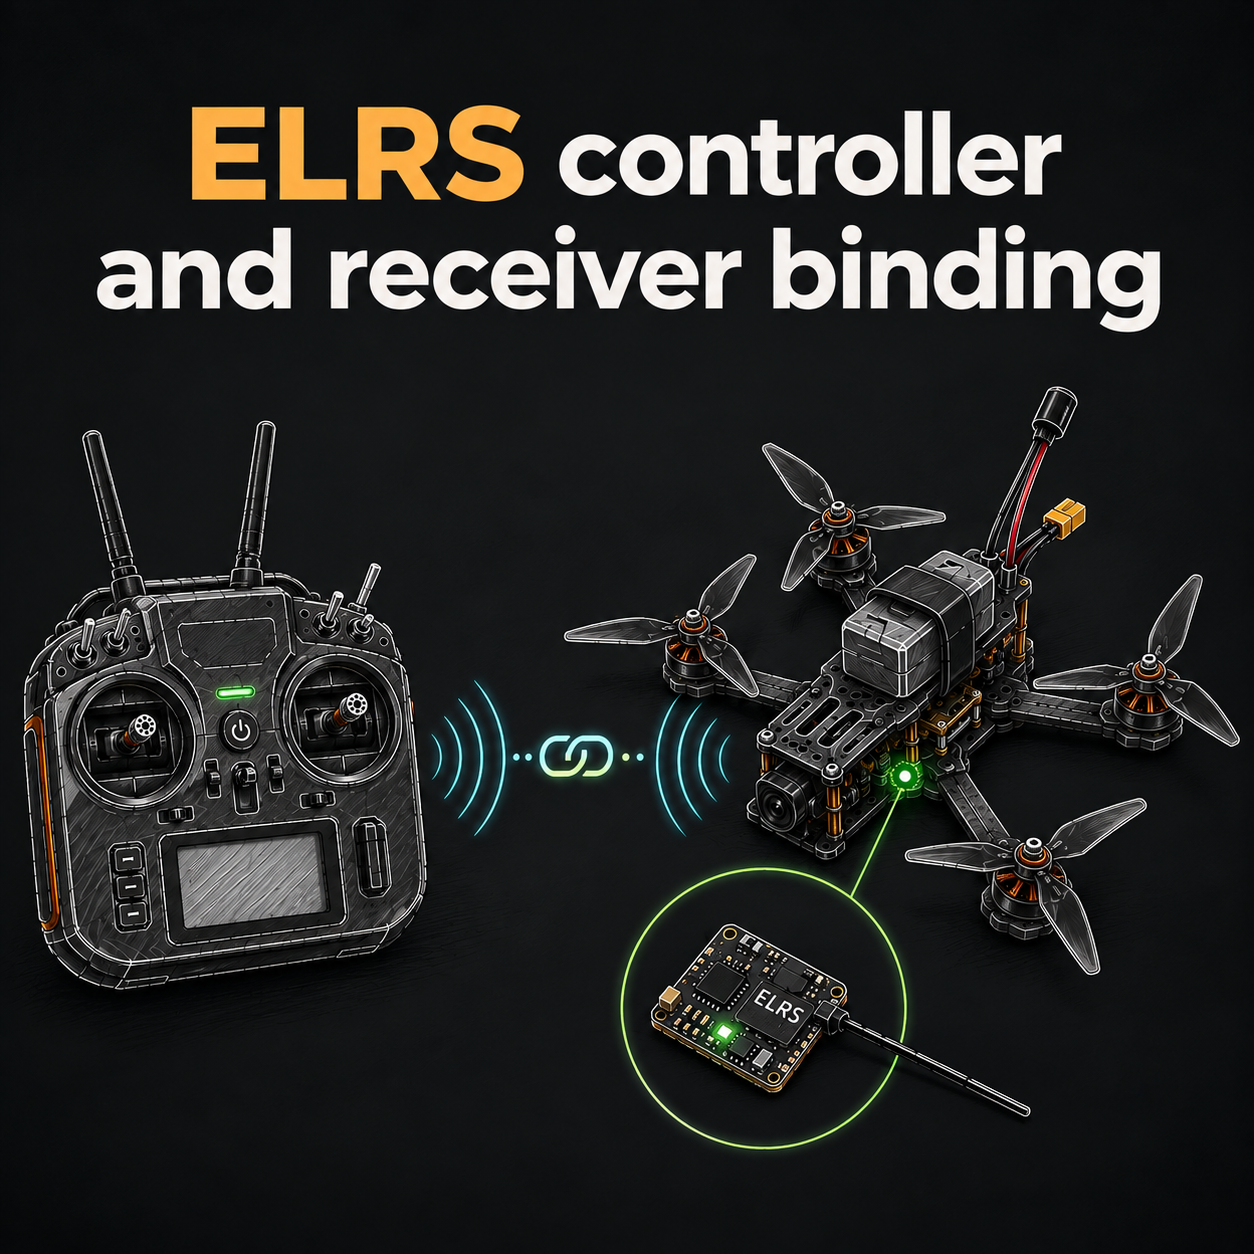
I have a controller, I have FPV goggles, I have a drone, and I have batteries. I connect everything and, if I’m lucky, I can see the video feed from the drone in my goggles. But I can press buttons, flip switches, and move the sticks all I want — nothing happens. Usually, the reason is very simple: the controller and receiver haven’t been bound to each other yet. This process is called binding.
Disclaimer
This guide is primarily intended for drones running Betaflight on their flight controller (FC). However, if your drone uses an ELRS receiver, some of the binding methods described here will also work without Betaflight Configurator.
Table of Contents
How FPV drone control works
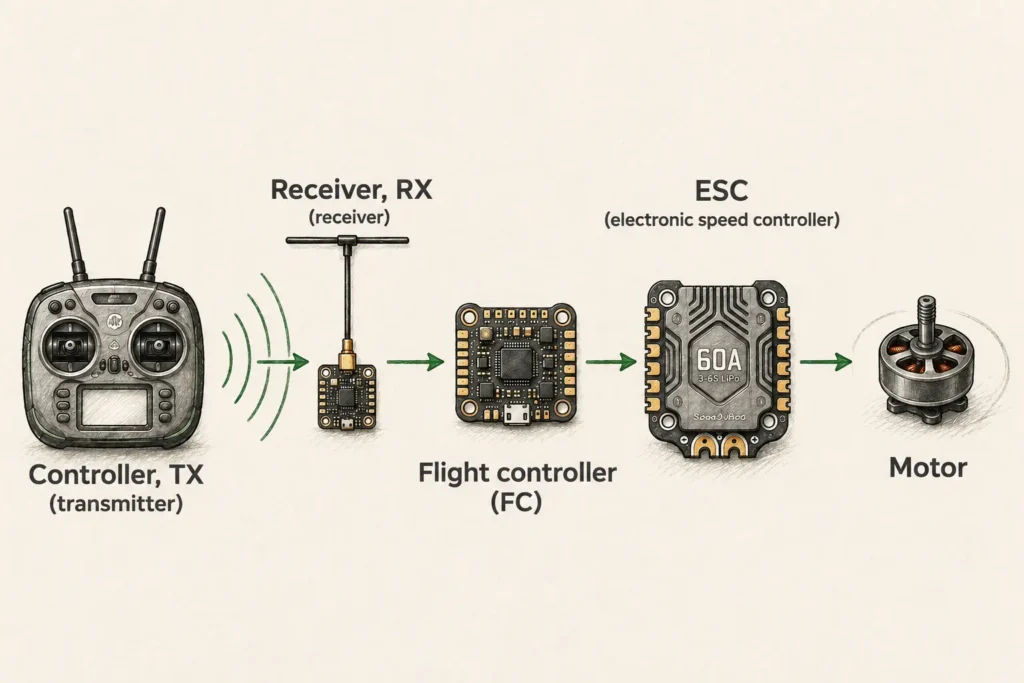
To control a drone, it needs to maintain a radio link with your FPV controller. Like any wireless communication system, there are two sides to this connection: the transmitter (TX) in your controller, which sends your commands, and the receiver (RX) installed in the drone, which receives them and passes them on to the flight controller (FC).
Every time you move a stick, flip a switch, or press a button, the controller creates a data packet and transmits it over radio. The receiver picks up that packet, checks it, and passes it to the FC. The FC then calculates how fast each motor should spin and sends commands to the ESCs, which deliver the required power to the motors. This happens dozens or even hundreds of times per second, so the drone responds to the pilot’s inputs almost instantly.
If you’re not sure what an FC or ESC is, you probably haven’t read my guide to FPV drone parts yet.
FPV drones use several different control link systems, including ExpressLRS and TBS Crossfire. In this guide, however, we’ll focus on ExpressLRS (ELRS), which is also the control system I use by default throughout this blog.
A radio link also needs a frequency band. The two most common options for ELRS are:
- 2.4 GHz — the most popular frequency band and the one used by most modern FPV control links. The 2.4 GHz band is also used by Wi-Fi, but ELRS is designed to operate reliably even in busy RF environments.
- 868 MHz in Europe and 915 MHz in the U.S. and some other regions — lower-frequency options that generally offer better range and penetration through obstacles. They are commonly chosen by long range pilots who prioritize maximum control-link range.
If you’re choosing your first FPV controller, you’ll most commonly come across models with a built-in 2.4 GHz ELRS module. For 868/915 MHz, an external module is more common, although controllers with built-in transmitters for these bands also exist.
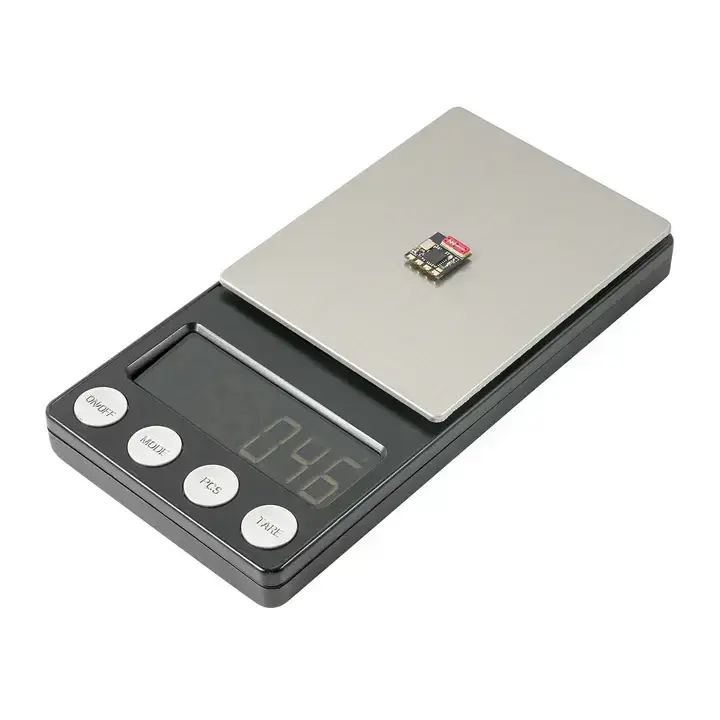
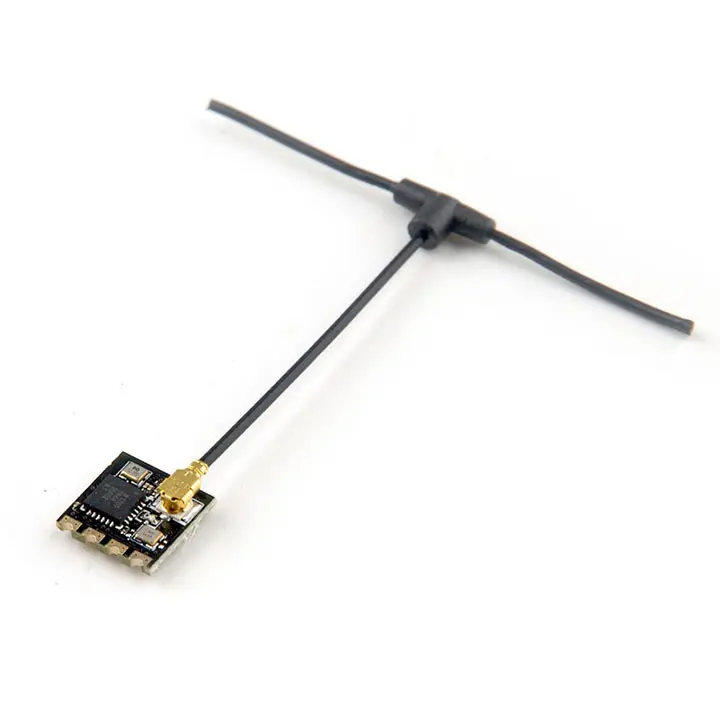
The receiver itself is usually a tiny circuit board, often only 0.4–1.2 inches (1–3 cm) across. It may have one or two antennas and is usually connected to the FC with just a few wires — typically three or four. In many drones, the receiver weighs only a few grams, yet it’s responsible for making sure every command from your controller reaches the drone. Some receivers even have a tiny ceramic antenna built directly onto the board, such as the Happymodel EP2 RX.
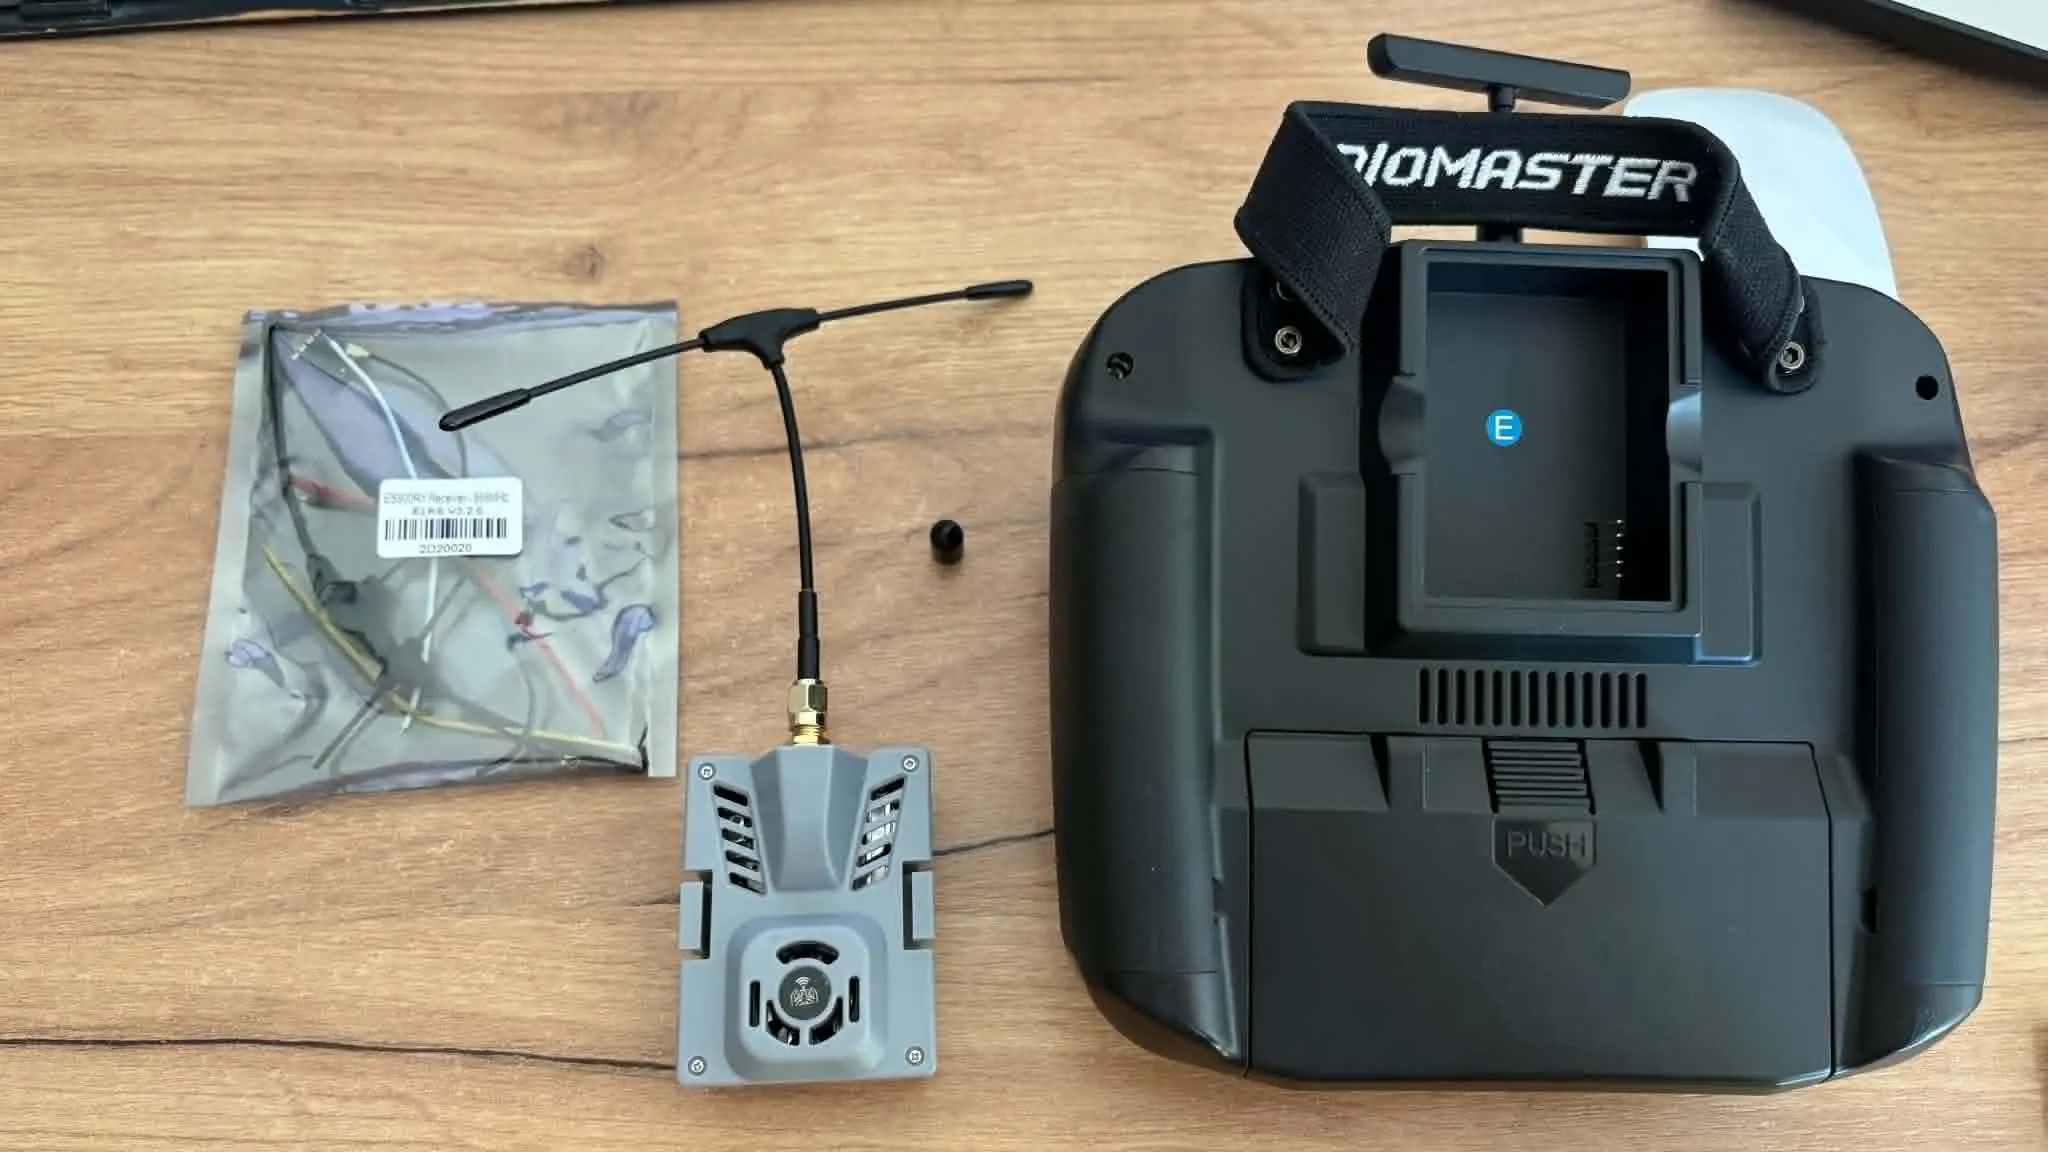
However, simply having the controller transmit a signal isn’t enough. For the drone to respond specifically to your controller, the transmitter and receiver first need to be linked to each other. This process is called binding.
When do you need to bind an ELRS receiver?
Binding isn’t something you need to do every time you power up your drone. The best analogy I can think of is connecting to your home Wi-Fi network. The first time, you select the network and enter the password. After that, your phone connects automatically. Binding your controller and receiver works in a similar way — once they’ve been bound, they should reconnect automatically the next time you power them on.
During binding, the controller and receiver are linked using a unique Binding UID. Once both devices have been configured, they can recognize each other and establish the connection automatically whenever they’re powered on.
| Binding is required | Pririšimas nereikalingas |
|---|---|
| • After buying a new or used drone • After installing or replacing the receiver • After changing your controller • After resetting the receiver to factory settings • After changing the Binding Phrase | • After simply turning the drone off and back on • After changing the battery • After updating Betaflight on the FC • After updating the ESC firmware |
Can you use one controller with multiple drones? Yes. If all the receivers use the same Binding Phrase, you can use the same controller with as many drones as you want. Just make sure only one of them is powered on at a time.
ELRS receiver LED status
Most ELRS receivers have an LED indicator that can tell you what state the receiver is in. These LED patterns will be useful during the binding process:

Solid on
Receiver connected to the controller

Slow blinking — 0.5 s on, 0.5 s off
Receiver waiting for a connection from the controller

Regular double blink
Receiver is in Binding mode

Fast blinking
Receiver is in Wi-Fi mode

Medium blinking — very short flash followed by a 0.5 s pause
Radio module not detected or a firmware-related problem
Source for the LED status table: expresslrs.org
ExpressLRS binding methods
There are several ways to bind an ELRS receiver to your controller. Which one you should use mostly depends on the situation:
| Situation | Recommended method |
|---|---|
| Setting up new ELRS equipment | Binding Phrase |
| Quickly binding a used or someone else’s drone | 3 power cycles |
| Configuring or troubleshooting a drone already connected to Betaflight | Betaflight CLI or Betaflight Bind button |
| The receiver refuses to bind using other methods | Bind/Boot button |
If you’re just getting started with ELRS, I recommend setting up a Binding Phrase. It takes a little more work the first time, but afterward you can use the same phrase across all your ELRS drones.
Except for Binding Phrase, the other methods described in this guide all follow essentially the same process:
- Put the receiver into binding mode.
- Start the Bind function on the controller.
Binding Phrase
Although this method takes the longest to set up initially, it lets you configure one Binding Phrase on your controller and then use the same phrase across all your ELRS drones. The process has two parts:
- Set the Binding Phrase on the controller.
- Set the same Binding Phrase on the drone’s receiver.
Once both devices use the same phrase, they can connect automatically.
Setting the Binding Phrase on the controller (TX)
- Turn on your controller.
- Open the ExpressLRS Lua script. For example, on my RadioMaster Boxer, at the time of writing, I can access it by pressing SYS → Tools → ExpressLRS.
- Select WiFi Connectivity.
- Select Enable WiFi. Once Wi-Fi mode is enabled, the ELRS module temporarily stops operating as a radio transmitter and becomes a Wi-Fi access point that you can connect to with your phone or computer.
- Open the Wi-Fi settings on your phone or computer and connect to the ExpressLRS TX network. The default password is “expresslrs”. The same default password is used by both transmitters and receivers.
- Once connected, the ExpressLRS configuration page should open automatically in your browser. If it doesn’t, open a new browser window and go to “10.0.0.1”.
- In the OPTIONS section, enter the phrase you want to use in the Binding Phrase field.
Recommendation: Choose a reasonably unique Binding Phrase rather than something generic like drone, fpv, or 123456. Although the chances are small, using a less obvious phrase reduces the chance of another nearby ELRS setup using the same Binding Phrase. - Click SAVE. This saves the Binding UID derived from the phrase you entered earlier.
- Once you’re finished, disable Wi-Fi mode on the controller or simply restart it.
Setting the Binding Phrase on the receiver (RX)
For this process, you’ll need to keep an eye on the LED indicator on the receiver. To save the Binding Phrase on the receiver, you need to access the same ExpressLRS configuration page you used for the controller.
- Power the drone using either a battery or USB.
- Wait for the receiver to enter Wi-Fi mode. This usually happens after about a minute if the receiver can’t connect to the controller. You’ll know it has entered Wi-Fi mode when the receiver LED starts blinking rapidly.
- On your phone or computer, connect to the ExpressLRS RX Wi-Fi network using the same default password: “expresslrs”.
- Open “10.0.0.1”, enter the same Binding Phrase you configured on the controller, and click SAVE.
- Restart the receiver or power-cycle the drone.
If the Binding Phrase matches on both devices, the receiver should connect to the controller within a few seconds. You should see two signs that the connection was successful:
- the receiver LED turns solid;
- the controller indicates that a receiver is connected.
3 power cycles
This is one of the simplest ways to bind an ELRS receiver to your controller if you aren’t using a Binding Phrase. It’s particularly useful when binding a new or used drone and you don’t want to change any of its existing settings. The main advantage is speed — there’s no need to connect to Wi-Fi, take the drone apart, or press a tiny Bind button on the receiver.
Putting the receiver into binding mode (RX)
Power the drone on and off three times in quick succession. You can do this either by connecting and disconnecting the battery or by powering the FC through USB. Don’t leave long pauses between power cycles — each power-on should last roughly one second. After the third power cycle, the receiver should enter binding mode, indicated by the regular double-blink LED pattern.
Starting the binding process from the controller (TX)
Once the receiver is in binding mode:
- Turn on your controller.
- Open the ExpressLRS Lua script. For example, on my RadioMaster Boxer, at the time of writing, I can access it by pressing SYS → Tools → ExpressLRS.
- Select Bind. You should see a Binding message. Within a few seconds, the controller should connect to the receiver. On some ELRS versions, a C — for Connected — may appear in the upper-right corner. The receiver LED should stop blinking and remain solid.
You normally only need to bind the controller and receiver once. After that, they should recognize each other and reconnect automatically whenever you power them on.
Binding ELRS with Betaflight CLI
This is one of the most convenient ways to put an ELRS receiver into binding mode if the drone is already connected to your computer and you’re using Betaflight Configurator. There’s no need to repeatedly power-cycle the drone or take it apart just to reach a tiny Bind button on the receiver. However, this method only works if the receiver is properly connected to the FC.
Putting the receiver into binding mode (RX)
- Connect the drone to your computer and open Betaflight Configurator.
- Connect to the FC and open the CLI tab.
- Enter the following command and press Enter:
bind_rx
- If the command is accepted, the receiver should immediately enter binding mode, indicated by the regular double-blink LED pattern.
- Next, start the binding process from the controller.
Note: The bind_rx command only works with newer Betaflight versions and when the ELRS receiver is properly connected to the FC. If bind_rx doesn’t work, you may be using an older Betaflight version, or your receiver may not support entering binding mode through the FC. In that case, use one of the other binding methods described in this guide.
How to check if binding worked?
Once the connection is established, the receiver LED should remain solid, and the controller should indicate an active connection to the receiver — usually with something resembling the signal bars on a phone.
If you want to make sure the control commands are actually reaching the FC, connect the drone to Betaflight Configurator and open the Receiver tab. When you move the sticks on your controller, the corresponding channel bars should move on the screen.
If the controller connects to the receiver but nothing moves in the Receiver tab, the problem probably isn’t related to binding anymore. Skip to the ELRS binding troubleshooting section below.
ELRS binding troubleshooting
Even if you follow all the steps correctly, sometimes the controller and receiver still refuse to bind. In many cases, the hardware itself is perfectly fine — the problem is simply an incorrect setting or incompatible firmware versions. Below are some of the most common problems and ways to solve them.
Make sure the exact same Binding Phrase is configured on both devices. If necessary, repeat the Binding Phrase setup process on the controller and receiver.
Use whichever of the methods described above is most convenient to put the receiver into binding mode. Check the receiver LED to make sure it is actually showing the binding-mode pattern before trying to bind from the controller.
If you’re using one of the manual binding methods, make sure you also select Bind in the ExpressLRS Lua script on the controller.
If one device uses 2.4 GHz ELRS and the other uses 868/915 MHz ELRS, they won’t bind to each other. Unfortunately, there’s no easy fix for this one — if you bought a receiver for the wrong frequency band, you’ll need to buy a compatible receiver instead.
ELRS firmware is updated regularly, so it’s worth checking whether the versions installed on your controller and receiver are compatible with each other. ELRS versions use the common X.Y.Z version-number format. For example, in version 3.4.2:
- X — Major version. This number represents major changes to the firmware. When the Major version changes, there may be changes that make devices running different Major versions incompatible with each other.
- Y — Minor version. This usually represents new features or smaller changes within the same Major version.
- Z — Patch version. This usually represents bug fixes and other relatively minor changes.
So, when comparing the ELRS versions on your controller and receiver, the Major version — the first number — is the first thing to check. For example, 3.4.2 and 3.5.1 both belong to the 3.x.x Major version, while 3.4.2 and 4.0.0 belong to different Major versions.
Solution: If the Major versions don’t match, update the firmware so that both devices are running compatible versions. You can use the ExpressLRS Configurator or ELRS Mobile (iOS, Android) to update the firmware, depending on your hardware and setup.
This is a slightly different problem. If the controller and receiver are successfully bound but the drone still doesn’t respond to your controls, there’s a good chance you built the drone yourself. Two common causes are:
- The TX and RX wires between the receiver and FC are connected incorrectly.
- The UART used by the receiver hasn’t been configured correctly in Betaflight Configurator.
Solution 1: This is a very real — and very common — mistake. I once spent several weeks pulling my hair out over a GPS receiver because I couldn’t figure out why the FC wasn’t receiving any GPS data.
The important thing to remember is that the TX of one device connects to the RX of the other. One device transmits data through TX (Transmit), while the other receives it through RX (Receive). In other words:
- Receiver TX → FC RX
- Receiver RX → FC TX
If you connect TX to TX and RX to RX instead, the receiver may still show signs of life, but data won’t be exchanged correctly between it and the FC.
The same TX-to-RX rule applies to other devices that communicate with the FC over a UART, such as a GPS module.
Solution 2: Connecting the receiver to the FC physically isn’t enough — the UART also needs to be configured in Betaflight. Open the Ports tab in Betaflight Configurator, find the UART your ELRS receiver is connected to, and enable Serial RX for that UART.
For that UART, Configuration/MSP, Telemetry Output, Sensor Input, and Peripherals should remain disabled unless your particular setup specifically requires otherwise.
Leave a Reply