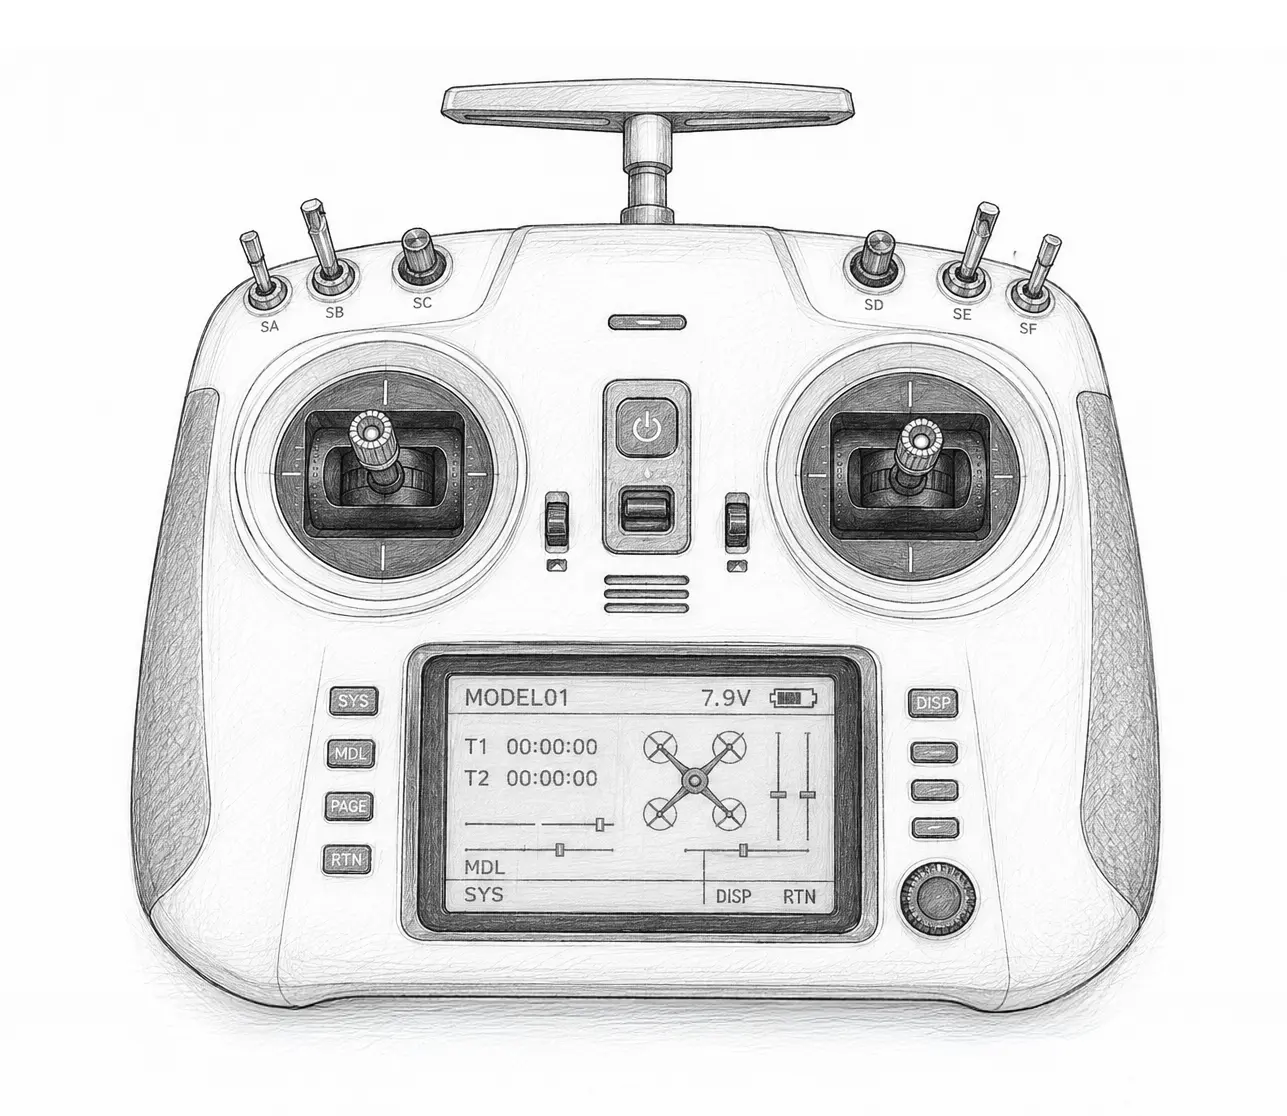
In the FPV world, drones change often. Some crash, others get sold, and new ones get built. But one piece of equipment usually stays with you the longest — your FPV controller.
Why is the controller often more important than the drone itself?
The FPV hobby has one “strange” characteristic — the number of drones you own usually only grows over time. Depending on the season, you might fly different drones. For example, during winter I fly my little BetaFPV Air65 and BetaFPV Meteor75 Pro. I can even fly them around the house. During summer, I fly my 5-inch freestyle drone, 3-inch cinewhoop, and even 10-inch long range drone. And I always use the same controller to fly all of them.
You’ll use your controller for years. If you buy a larger, more configurable controller, it can gradually evolve into a more sophisticated control system — with different models or profiles for different drones, telemetry data displayed not only in your goggles but also on the controller’s screen, and plenty of other options.
If you’re just taking your first steps into the FPV hobby and still don’t know whether you’ll enjoy it, I wouldn’t recommend buying one of the most expensive controllers right away. Every major manufacturer has budget options. Of course, I’ll contradict myself here — there’s nothing wrong with buying a more expensive one either. If FPV doesn’t work out for you, you can always sell the controller on the second-hand market. Drop the price by a few bucks and someone will probably buy it. FPV drones are booming right now and are truly going through a golden age — gear doesn’t stay on the market for long.
It’s also worth mentioning that an FPV controller is often bought even before the first drone. How does that make sense? If you buy only a drone, you still won’t be able to get it off the ground without a controller. But if you buy only a controller, what are you supposed to do with it? The answer is simple — FPV simulators. That’s what the next post will be about.
Your first flights should almost certainly be in an FPV simulator. Otherwise, you’ll most likely either lose your drone somewhere and have no idea where it went, or simply crash it. That might sound a little negative, but getting started really isn’t easy. Personally, during my first few hours, I had already started thinking there was no way I was ever going to get the hang of this and that starting the hobby had been a mistake. But somewhere around the 3–5-hour mark in the simulator, things finally started to click (using a simplified flight mode). And after approximately 10–15 hours of practice, I bought my first little drone — the BetaFPV Meteor75 Pro.
Table of Contents
- Before you start: Never turn on your controller without an antenna
- Popular FPV controller manufacturers
- FPV control link systems: ELRS, Crossfire, and FrSky
- Controller Form Factors
- FPV controller batteries
- Switches
- Screens
- FPV controller gimbals
- FPV controller firmware: EdgeTX and OpenTX
- FPV controller modes: Mode 1 vs Mode 2
- My Personal Experience
Before you start: Never turn on your controller without an antenna
Never, ever — and once again, never — turn on your controller without the antenna attached. Without an antenna, the RF energy that would normally be transmitted through it can be reflected back into the radio module, causing it to overheat and potentially damaging the transmitter.
Popular FPV controller manufacturers
There aren’t that many — which, at least, makes things a little less confusing:
- RadioMaster;
- Jumper;
- TBS;
- BetaFPV;
- DJI (compatible only with DJI FPV drones and their VTX systems)
RadioMaster is currently one of the leading brands in the FPV controller market, both in terms of the range of controllers it offers and their quality. BetaFPV focuses more on the budget segment (although I’ll contradict myself again here — with the recently released T8L controller, RadioMaster is also moving into the budget segment).
FPV control link systems: ELRS, Crossfire, and FrSky
These are mainly determined by the receivers (RX) installed in your drones. The two main control link systems you’ll encounter are ELRS and TBS Crossfire. You can also still find controllers using the older FrSky system on the second-hand market. I’m only mentioning it so the FPV veterans don’t get offended. 😉 FrSky is still used in older builds, but new pilots today usually choose ELRS.
When buying a controller, you should already know which system you’re going to use: ELRS or Crossfire. If you choose ELRS, you really can’t go wrong. Just make sure that when building or buying your drone, you don’t accidentally choose something other than ELRS. 😉
Some controllers have connectors on the back that allow you to attach external radio modules. This is useful for pilots with specific needs — for example, if you want to use a different control link or a higher-power external module. The legal limits depend on the frequency band, region, radio technology, and equipment configuration. In the European Union, 20 dBm (100 mW) e.i.r.p. is an important limit you’ll commonly encounter in the 2.4 GHz band under ETSI EN 300 328. Regulations in the U.S. work differently, so the maximum legal transmitter power cannot be reduced to a simple 250 mW, 500 mW, or 1 W rule.
Controller Form Factors
I’d say this is one of the most difficult questions you need to answer for yourself before choosing a controller.
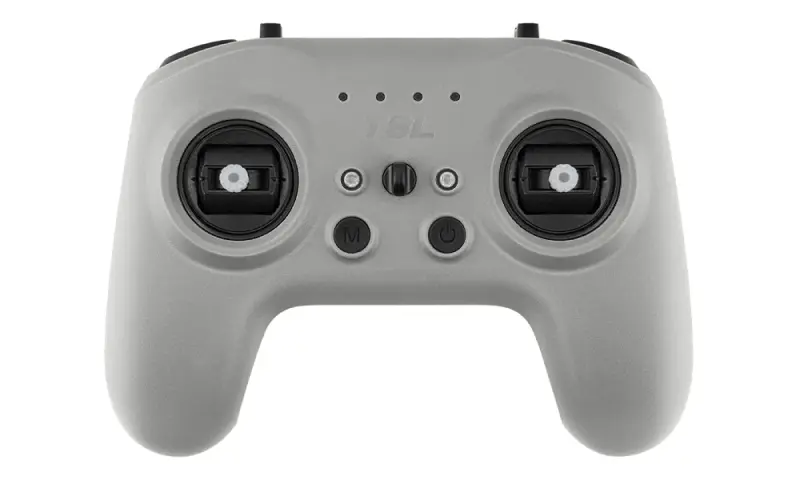
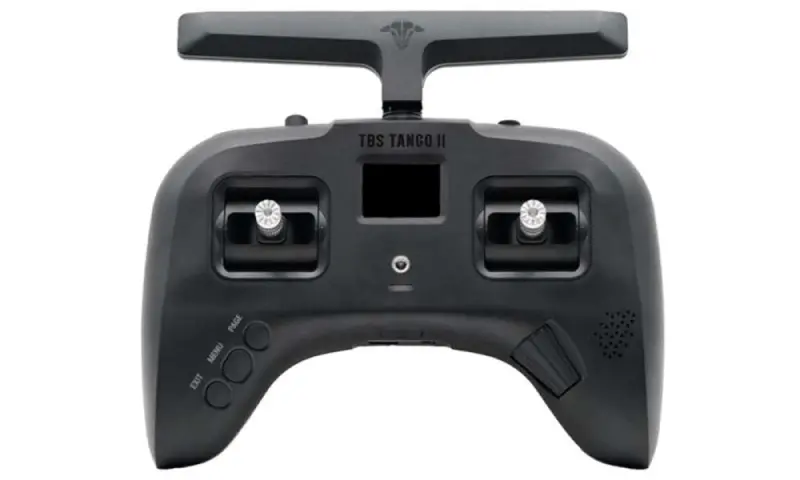
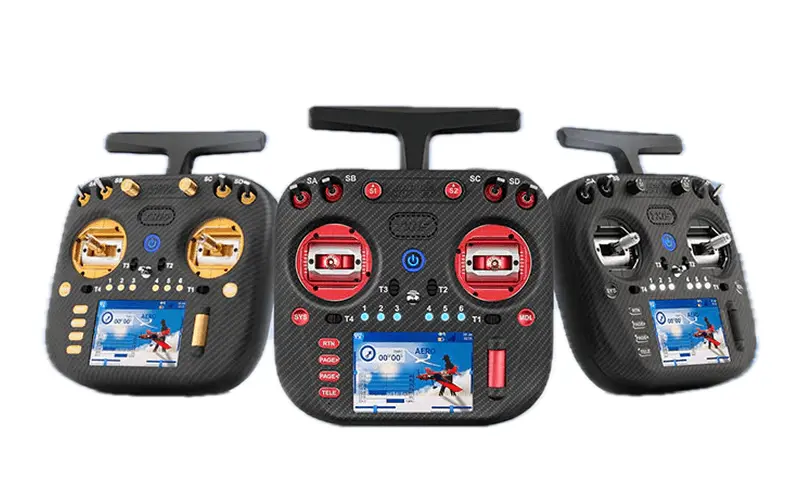
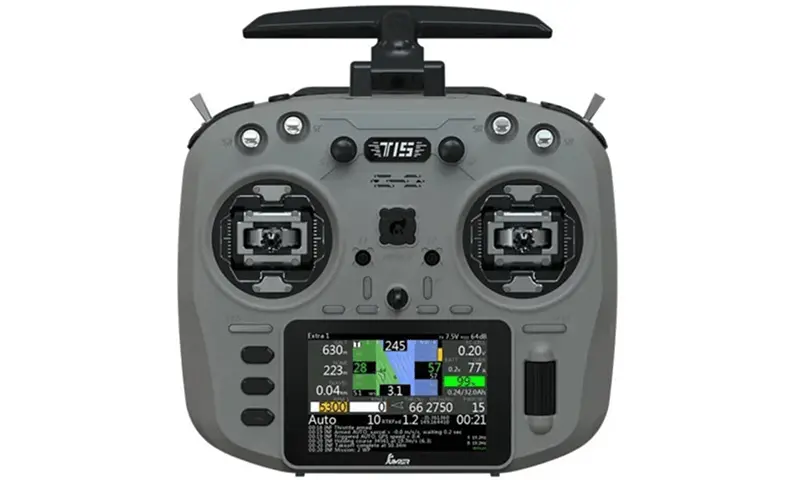
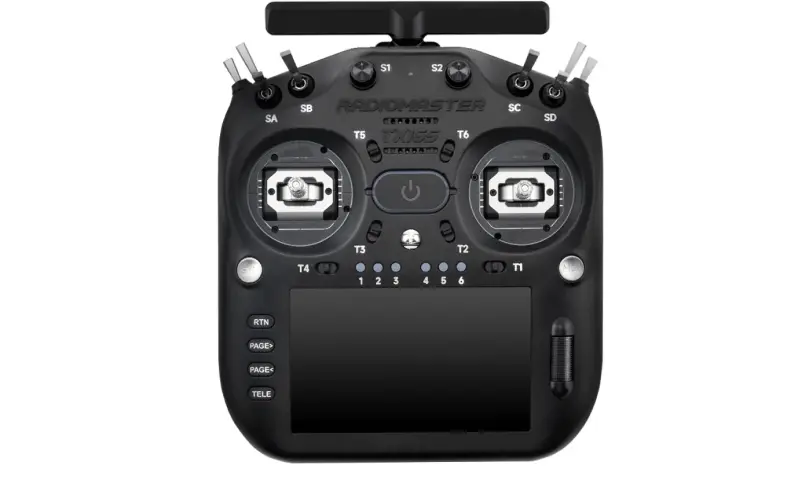
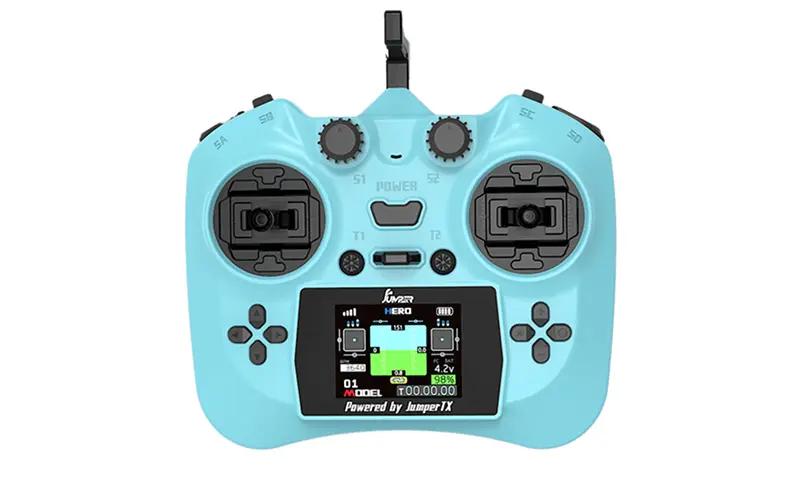
FPV controllers come in several form factors, but the two most distinct are gamepad-style and traditional full-size controllers. There are also compact controllers that sit somewhere between the two. Those who spent their teenage years playing games on PlayStation or Xbox consoles often prefer gamepad-style controllers because their hands are already used to that shape.
If you have the opportunity, try at least a few different controllers before buying one. Ask friends, colleagues, or even a neighbor who flies FPV drones. Hold each controller in your hands and see how it feels. Are the switches and buttons conveniently positioned? Is it too heavy or too large — or, on the contrary, too light or too small?
Gamepad-style FPV controllers
Their main advantages are compact size and convenience when traveling. However, they also tend to have fewer switches, smaller gimbals (which may not provide enough precision for larger fingers), and smaller screens — if they have a screen at all. And, of course, because of their small size, they usually come with lower-capacity batteries.
Popular models:
Full-size FPV controllers
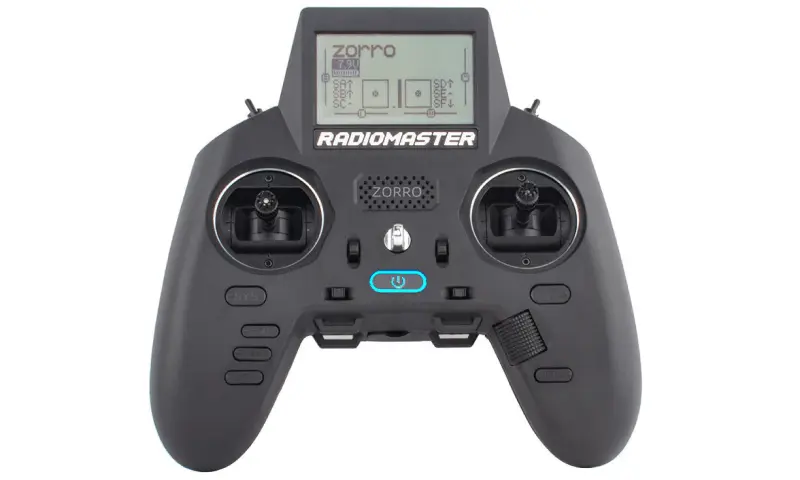
These are the classic, larger controllers, usually with a square-shaped design. They have larger screens, higher-capacity batteries, and, most importantly, more switches. Their larger size and greater number of switches also allow those controls to be laid out more conveniently.
Of course, the trade-off is that they take up more space in your backpack and are less convenient when traveling.
Popular models:
Compact FPV controllers
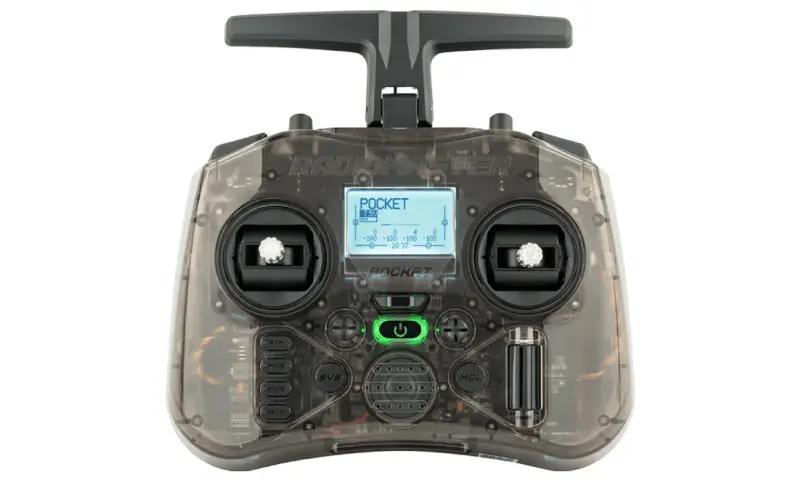
This is a kind of compromise between full-size and gamepad-style controllers. For many pilots, a compact controller becomes their first “more serious” controller. It offers a good balance between portability and the number of available switches.
Popular models:
FPV controller batteries
Controllers usually come without batteries. To avoid paying for shipping twice, order the batteries together with the controller. In most cases, two 18650 cells are all you need. Stores that sell controllers will usually have at least one type of 18650 cell available as well.
Switches
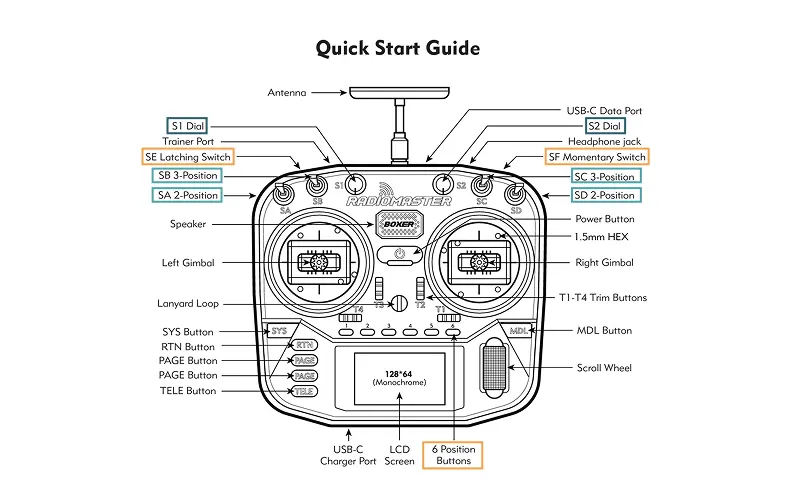
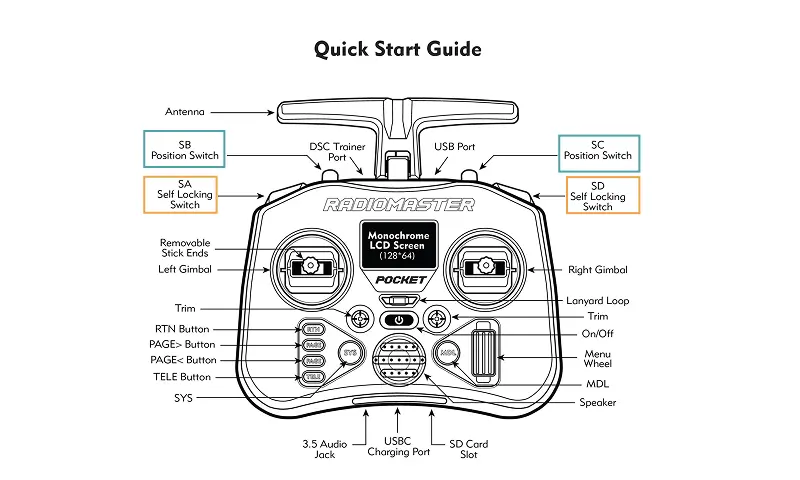
At the very beginning, you only need a few switches — one to arm the drone (basically, enable the motors for flight) and another to activate the beeper when the drone crashes somewhere in the grass and you need to find it. Later, you might start adding things like an additional arming safety switch to prevent accidentally arming the drone, switching flight modes, changing flight profiles, adjusting video transmission power, enabling flip-over-after-crash mode, and so on.
Over time, the need for more switches grows. But there’s no need to overdo it either. Some FPV pilots also fly fixed-wing aircraft (RC airplanes), and for them, controllers with a larger number of switches can definitely come in handy.
Screens
The screen is rarely used during flight because you’re wearing FPV goggles. However, from time to time, you’ll need it when configuring various functions.
Gamepad-style controllers either don’t have a screen at all or have a very small one. Full-size controllers, on the other hand, offer a wide range of screen options: different sizes, black-and-white or color, basic or touchscreen.
Color touchscreens are very convenient for configuration, but that convenience comes at a cost — the controller’s battery drains faster. If you’re out flying in a field all day and didn’t bring a power bank, that can become a bit of a problem.
FPV controller gimbals
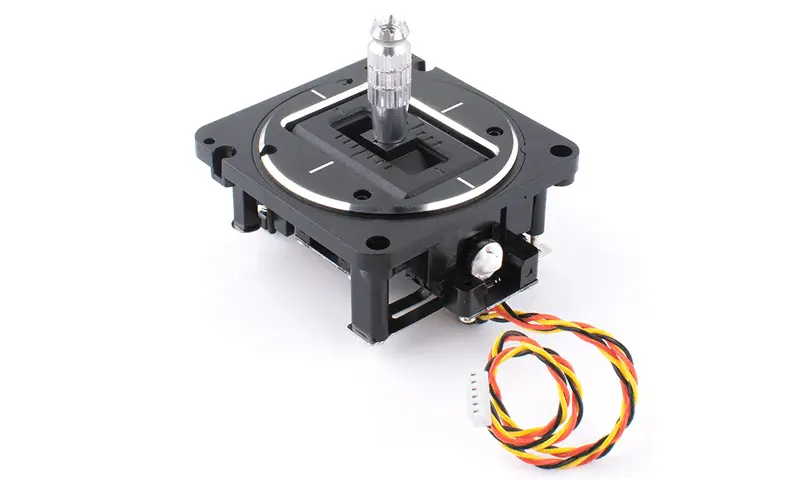
Controller gimbals are the mechanisms behind the two main sticks used to control the drone’s movements. Gimbals are usually either potentiometer-based or use Hall effect sensors.
Potentiometer gimbals
This is the oldest and simplest technology. The position of the stick is measured using a potentiometer — a mechanical component that wears over time. The main advantage is the lower price. However, after prolonged use, you may experience center drift, reduced accuracy, or the need to calibrate the controller more frequently.
If you’re buying a new controller, you’re unlikely to find potentiometer gimbals unless you choose one of the cheapest models. But even in the lowest price range, Hall effect gimbals are becoming increasingly common — for example, the RadioMaster T8L uses them.
Hall effect gimbals
Hall effect gimbals are the current standard in the FPV market. Instead of relying on a mechanical contact to measure stick position, they use a magnet and a Hall effect sensor, so there is practically no sensor wear.
They offer greater precision, a more stable center, and a longer service life. Because of this, even most modern budget FPV controllers now come with Hall effect gimbals.
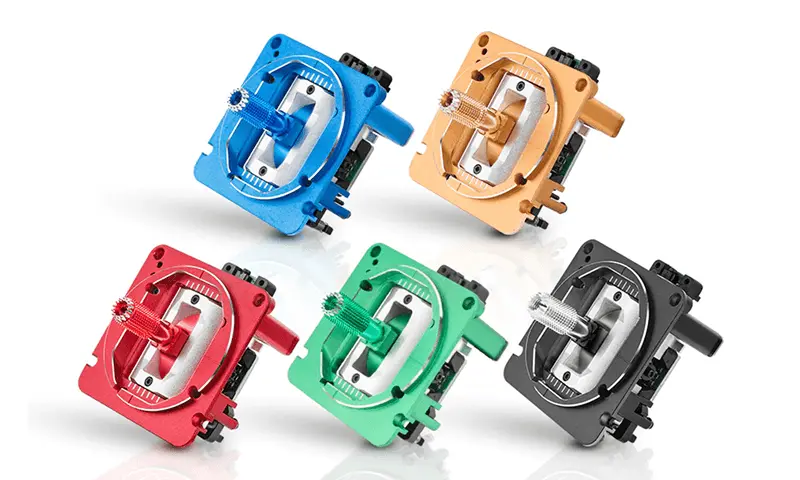
The construction of these gimbals can also be divided into two broad types: plastic and CNC-machined aluminum. Plastic gimbals are, of course, simpler and cheaper, while CNC gimbals are generally more rigid, can have tighter mechanical tolerances, and often provide a nicer feel when moving the sticks. However, CNC does not mean a better sensor — it simply refers to the higher-quality mechanical construction of the gimbal.
Gimbals are the most frequently used part of a controller. A comfortable and solid feel when holding and moving the sticks is an important part of the flying experience. Personally, I have very little experience with different gimbals. All of my controllers still use their factory-installed gimbals. I’m not a professional drone racer, so for now, the standard ones (plastic Hall effect gimbals) are more than enough for me. But once the ones I have wear out — if that’s even possible — I suspect this is one part of the controller I would invest in.
Finally, some gimbals are available in different colors, so if controller styling is important to you, that can also be a reason to consider replacing the stock gimbals.
FPV controller firmware: EdgeTX and OpenTX
Many modern FPV controllers from manufacturers such as RadioMaster and Jumper come with the open-source EdgeTX firmware. It has become one of the main firmware platforms used in the FPV hobby.
Previously, OpenTX filled much of that role. EdgeTX started as a fork of OpenTX and has since evolved with support for modern controllers, including models with color touchscreens.
You can still find controllers running OpenTX on the second-hand market. Many OpenTX-era radios can be upgraded to EdgeTX, but compatibility depends on the specific model, so check the official EdgeTX supported radios list before flashing anything.
FPV controller modes: Mode 1 vs Mode 2
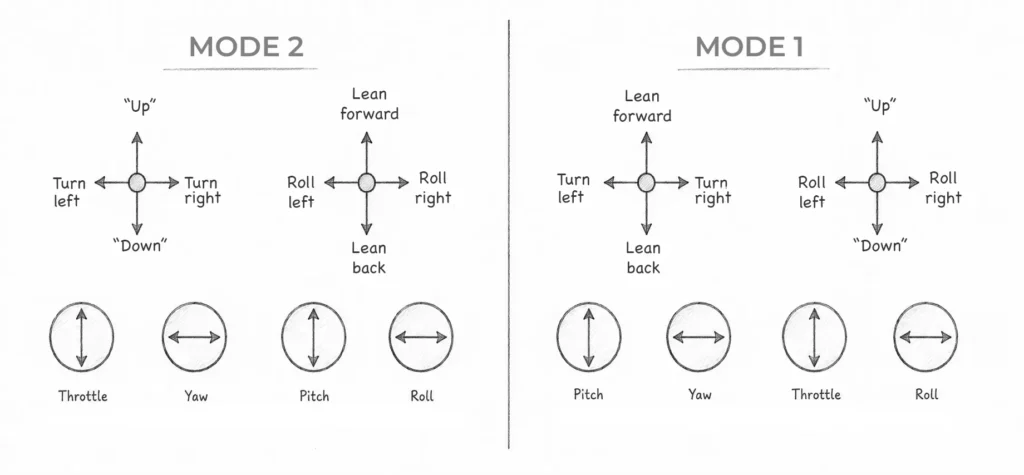
A control mode determines which functions are assigned to each of the controller’s sticks.
In practice, this topic is much more important in the FPV world than it might seem at first, because your hands develop very strong muscle memory for the control mode you choose. Relearning a different mode later can be quite difficult.
In the FPV world, Mode 2 is by far the most popular. Mode 1 is more commonly found among fixed-wing pilots. The main difference between the two is the placement of the throttle and pitch controls.
I’m only mentioning control modes because if you decide to buy a controller online from outside Europe or the U.S., there’s a small chance you might come across a Mode 1 version. Even if you do end up buying a Mode 1 controller from one of the popular manufacturers, it’s not a disaster. On many controllers, the mode can be changed, although this may require both software changes and mechanical adjustments to the gimbals.
My Personal Experience
Personally, I started my FPV journey with a RadioMaster Boxer, and I still use it today. If I were choosing a controller now, I would probably still go with the same Boxer with AG01 or AG02 gimbals, or perhaps the TX15, which I see as a kind of upgraded Boxer with a color screen and a foldable antenna. I would still think twice about the TX15, though, because the color touchscreen most likely drains the battery faster.
That said, I’m very happy with my Boxer — it has enough switches, and two 18650 cells last quite a long time. I also have two gamepad-style controllers: the DJI FPV Controller 3 and the RadioMaster T8L. I use the DJI controller with simulators or my Avata 2. The T8L caught my attention because of its price — less than $60 — so I was very curious to try it. I use it less often, but at the same time, I don’t mind handing it to other people to try. 🙂
If someone asks me to recommend a specific model, I have two: either the RadioMaster Pocket or the TX15. The Pocket is smaller and significantly cheaper. Together with an FPV simulator, you can get started for under $120 — a financially painless way to begin your FPV journey. Once you outgrow it, you can upgrade to the TX15.
If money isn’t an issue and you want to buy a controller right away that will last you a long time, the TX15 is a safe choice. It has a good number of switches and should meet the needs of the vast majority of FPV pilots.
Leave a Reply