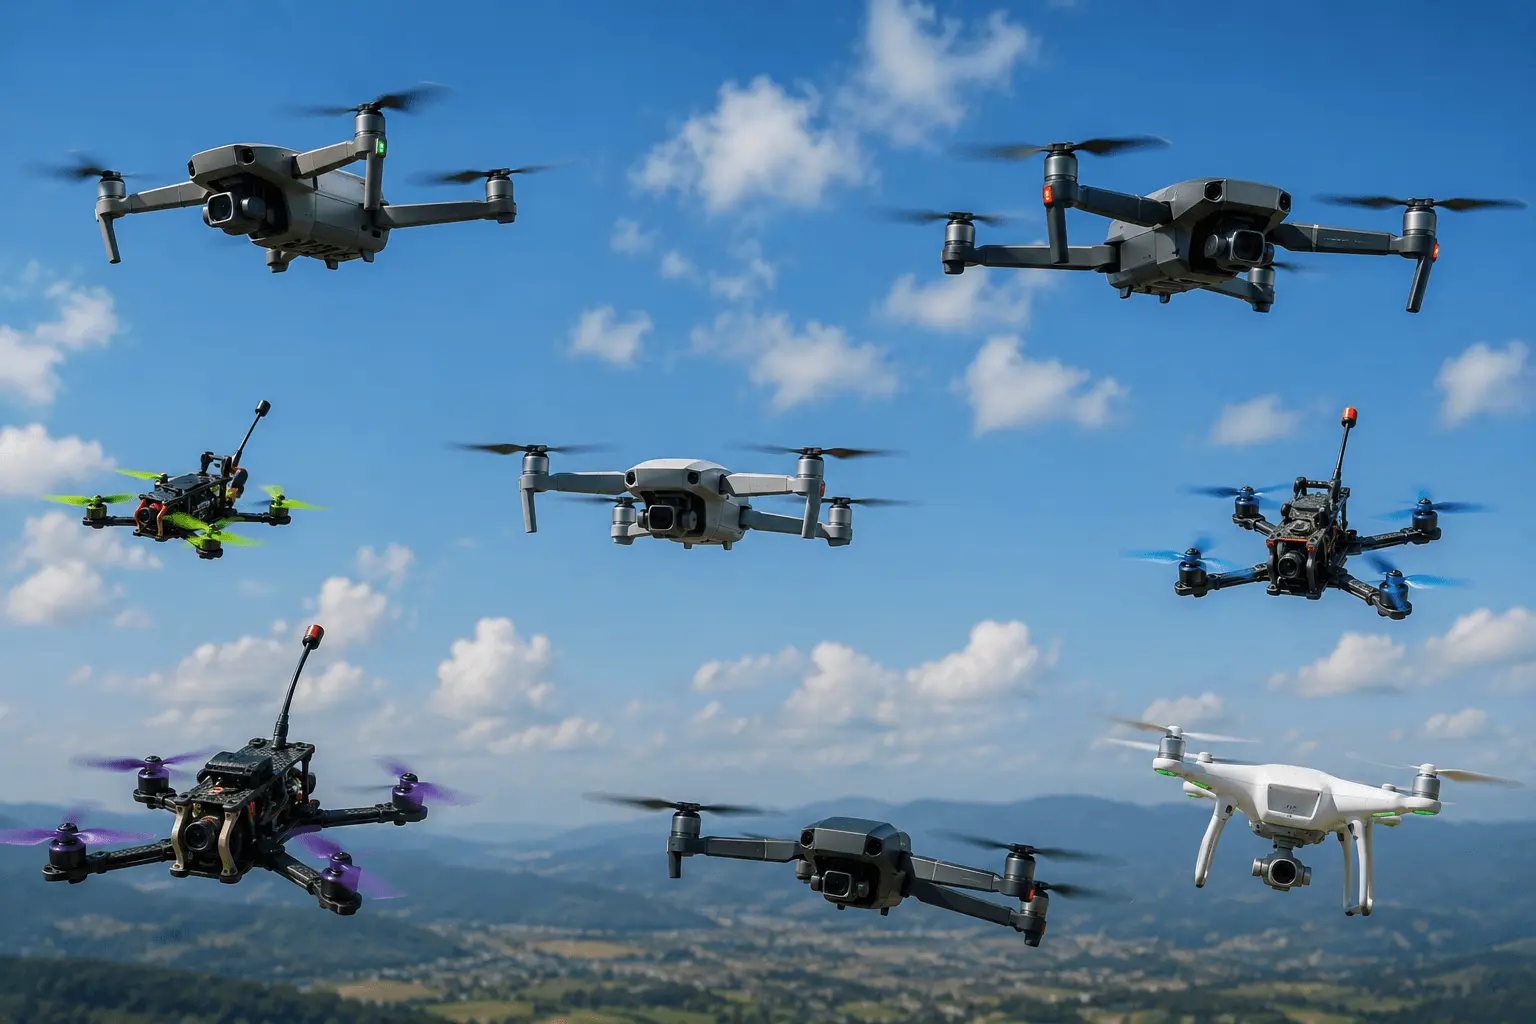
The world of drones has become extremely diverse in recent years, with many different drone types designed for very different purposes. Some are built to capture smooth, high-quality footage of nature or events, while others are designed for maximum speed, acrobatics, and an immersive flying experience.
Beginners often have the same questions: Which drone should I choose? What types of drones are there? Will I be able to control one, and how much experience do I need?
In this article, I’ll cover the main types of camera drones and FPV drones, what they’re used for, how they differ, and who they’re best suited for. I won’t cover other types of drones, such as fixed-wing or industrial drones. They tend to be more complex to operate and are often built for specialized purposes — they’re not really aimed at beginners.
Table of Contents
Camera drones
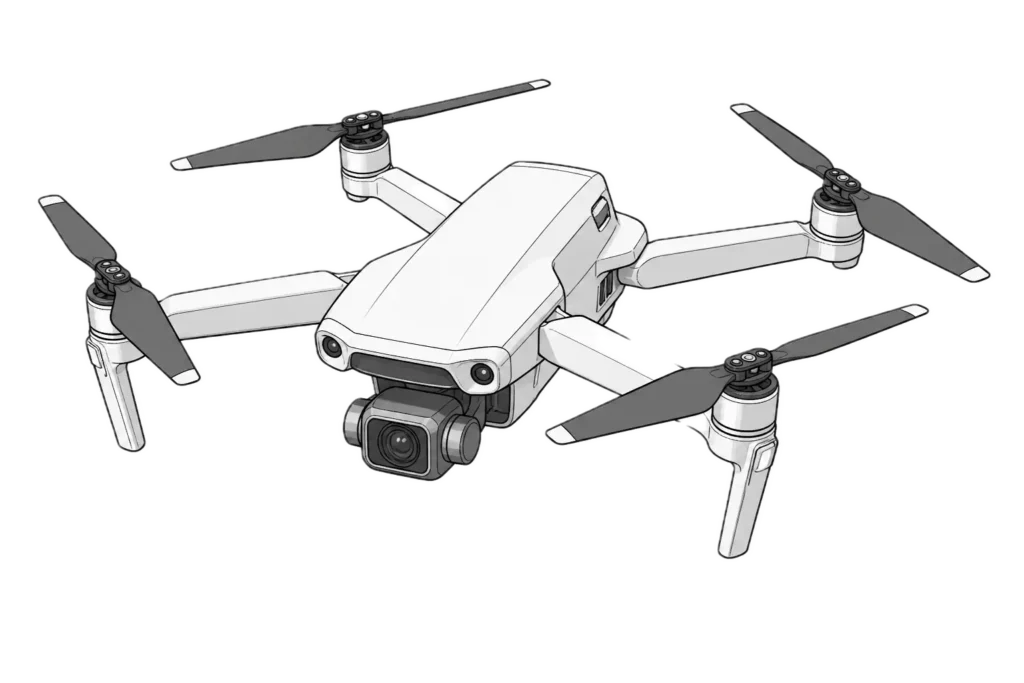
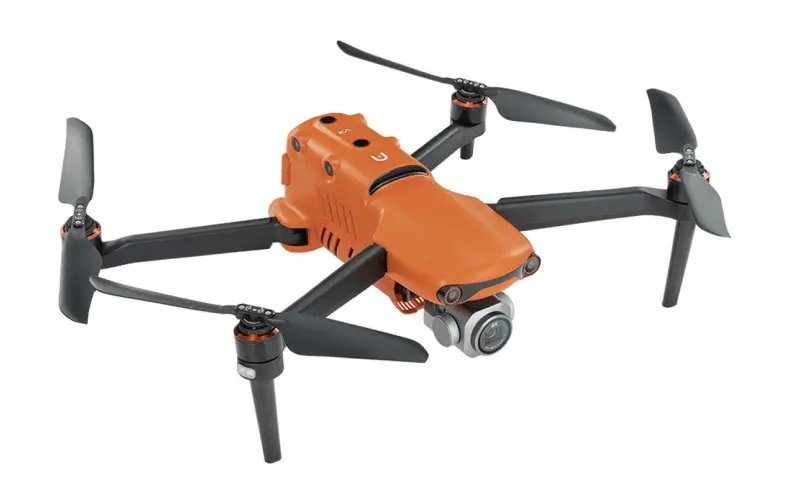
Camera drones (sometimes also called “consumer drones”) are designed for the general public, with a focus on capturing stable, smooth, high-quality footage. They usually have GPS, obstacle sensors, automated flight modes, and an integrated camera mounted on a stabilizing gimbal.
These drones are generally quite easy to control — even a complete beginner can safely take off and start taking photos or recording video after just a few flights.
It is also worth mentioning that DJI is the undisputed leader in the camera drone market. Within the same price range, no other manufacturer currently offers camera drones that are quite as advanced. Drones from other manufacturers with comparable specifications can cost almost twice as much, or even more.
When the U.S. banned imports of new DJI models at the end of 2025 (the DJI ban), U.S. manufacturers such as Skydio and Freefly gained an opportunity to expand their market share. However, they still have a long way to go, and DJI is unlikely to face an equal competitor anytime soon.
To be more precise: The law does not ban all DJI drones. It prevents the FCC from issuing new equipment authorizations. This effectively blocks DJI from importing or selling new, unreleased models or products in the U.S., while existing models already approved before the cutoff remain legal to sell, own, and fly.
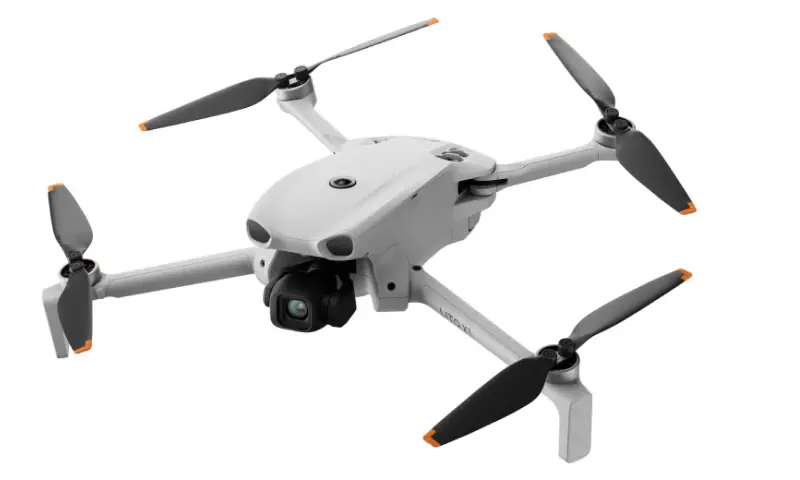
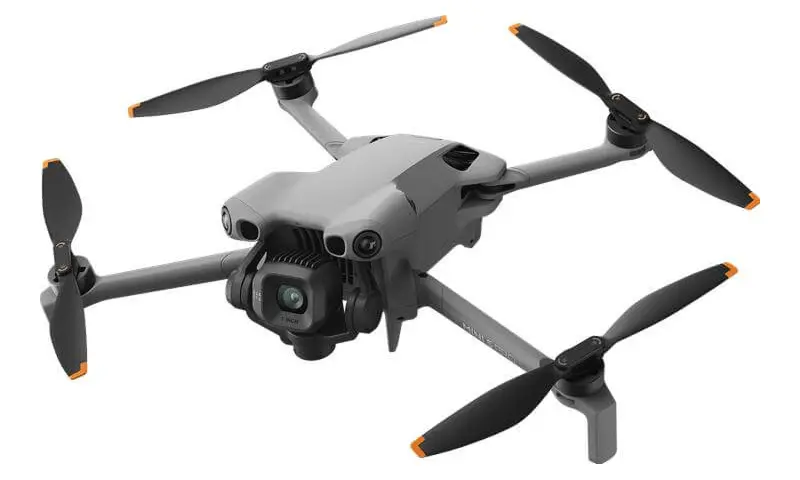
Camera drones under 250 grams
Camera drones weighing less than 250 grams are very popular because of their portability and simpler legal requirements in many countries.
Main advantages
- Lightweight and compact
- Convenient for travel
- Often subject to simpler legal requirements
- Lower risk in an accident (dropping 250 g on your head hurts less than 750 g :D)
- Easier to operate
This type of drone is perfect for:
- Beginners
- Travel
- Social media content
- Nature shots
- Real estate photography and video
Disadvantages:
Although these drones are very convenient, they also have some limitations:
- Less stable in strong winds
- Smaller camera sensors
- Shorter flight time than larger models
- More limited professional filming capabilities
How much experience do I need?
A sub-250 g camera drone is one of the best choices for a beginner. Most of these drones have automatic safety features:
- Automatic Return to Home (RTH)
- Altitude hold
- GPS stabilization
- Obstacle avoidance (be a bit more careful with this one — and remember to stay alert. The internet is full of videos of people crashing their drones because they relied too heavily on it)
This is the best choice for a beginner. Most of these drones have automatic safety features:
Because of this, even someone with no previous experience can get started fairly quickly.
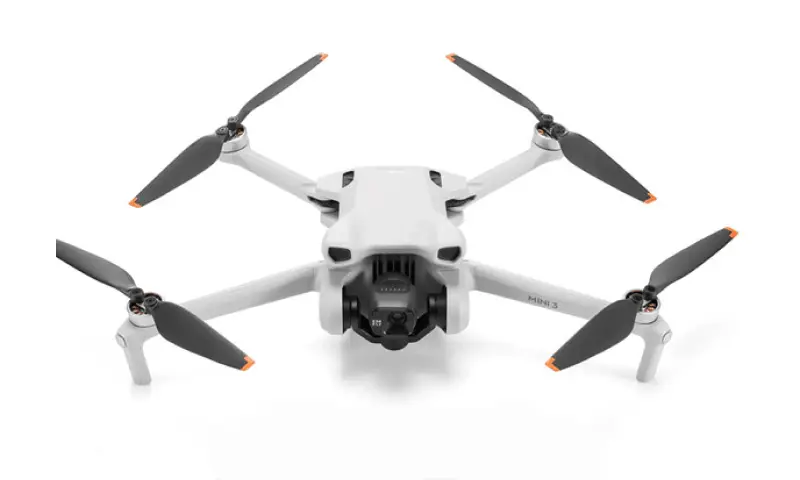
Popular camera drones under 250 g:
Camera drones over 250 g
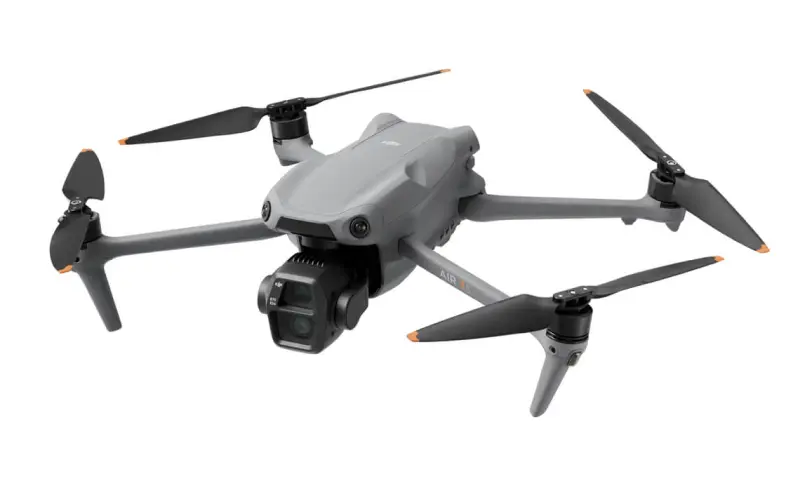
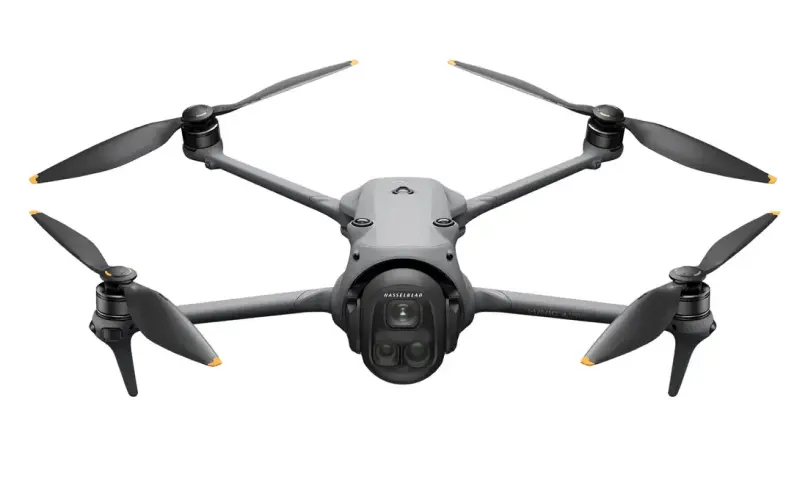
Larger camera drones are designed to deliver more professional results. They have better cameras, more sensors, better stability, and can often be used for filming in more challenging conditions.
Main advantages:
- Better image quality
- Larger camera sensors
- More sensors to help avoid obstacles
- Better performance in low-light conditions
- Better stability in windy conditions
- Longer flight time
- More advanced filming features
This type of drone is perfect for:
- Commercial filming
- Weddings
- Advertisements
- Film projects
- Professional photography
Disadvantages:
- Higher price
- Stricter legal requirements
- In the EU, additional legal requirements may apply, including pilot competency requirements such as A1/A3
- Greater weight and less portability
How much experience do I need?
Although flying the drone itself is still fairly simple, professional filming requires more skill:
- Understanding camera settings
- Planning smooth movements
- Understanding framing
- Evaluating weather conditions (although you need to consider the weather when flying drones under 250 g as well)
Flying the drone itself is not difficult, but achieving good results depends on the pilot’s experience.
Popular camera drones over 250 g:
FPV drones
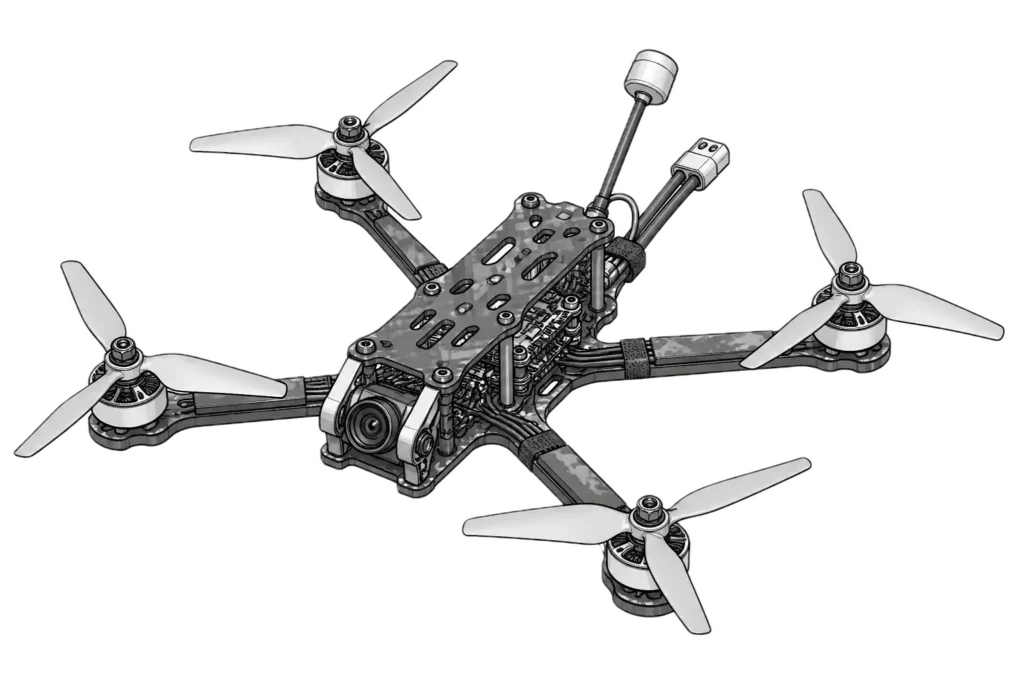
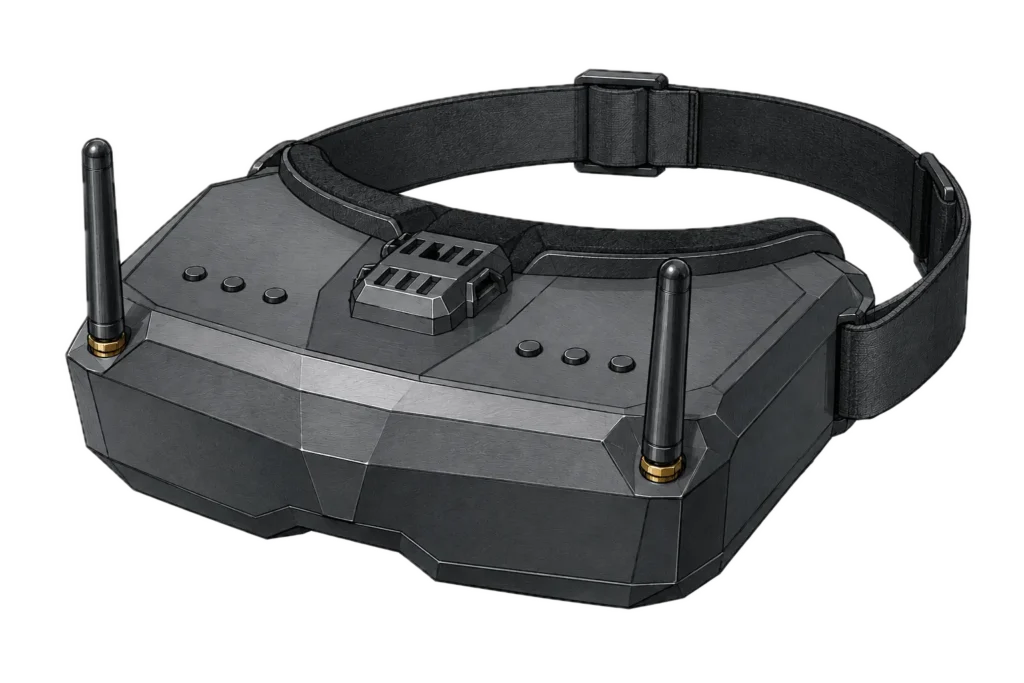
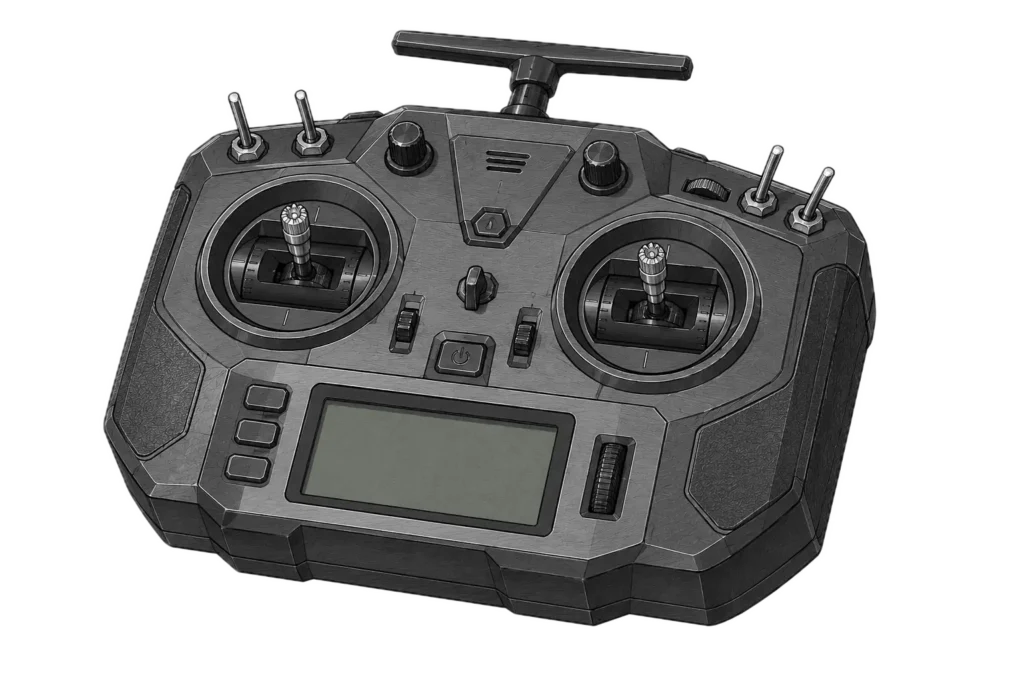
FPV (First Person View) drones are a completely different category of drones. Instead of focusing on automated, stable flight, FPV drones are all about speed, maneuverability, and a direct connection between the pilot and the drone. The pilot flies using FPV goggles, which display a live video feed from the drone’s camera in real time. This creates the feeling that you’re sitting inside the drone yourself or that you’re a bird flying through the sky.
FPV drones often don’t have GPS stabilization, or it is used only minimally. Because of this, they are much more difficult to control.
It is very important to mention that FPV drones are not for everyone. Not because they are more difficult to control — that can be learned over time — but because some people simply don’t tolerate wearing FPV goggles for extended periods. They may start feeling dizzy or nauseous. If wearing virtual reality (VR) goggles makes you feel sick, there’s a good chance you’ll experience the same thing with FPV goggles.
Personally, I had similar problems when I borrowed a Meta Oculus Quest VR headset from a friend. After a few evenings of “forcing” myself to wear it, I got used to it. For the same reason, I recommend not spending too much on FPV goggles when you’re just getting started with the hobby. If you do spend too much and later decide the hobby isn’t for you, though, you should have no trouble selling them on the second-hand market. 🙂
There are several main types of FPV drones, usually categorized by their propeller size and flying style:
Tinywhoop drones
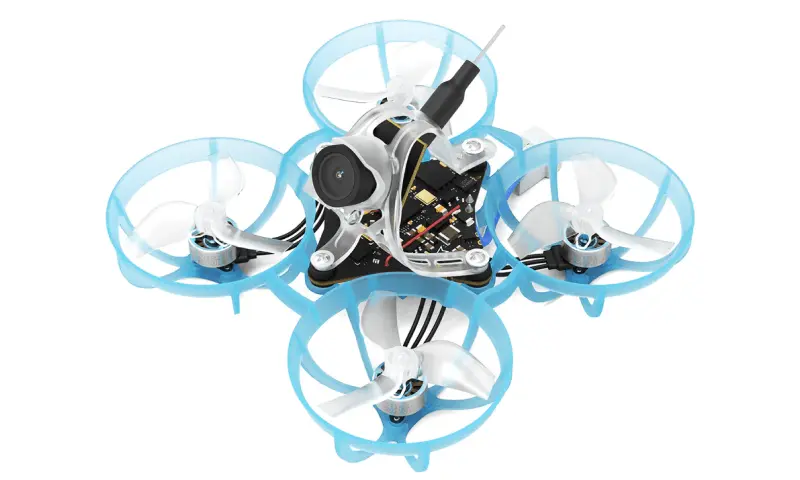
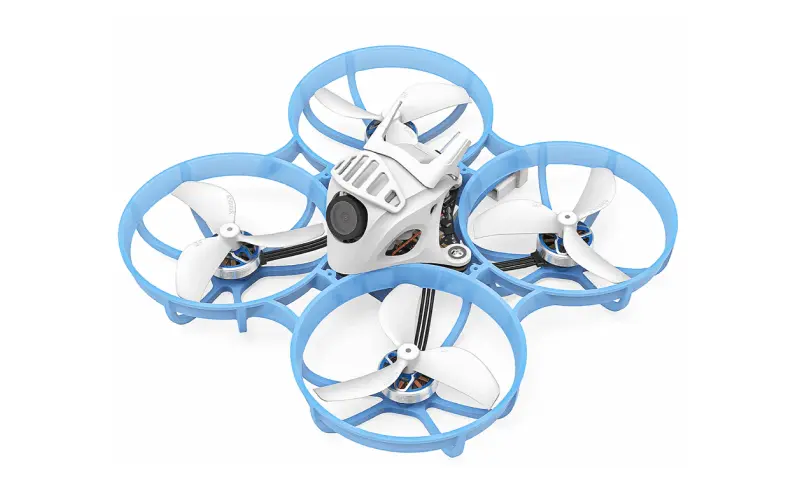
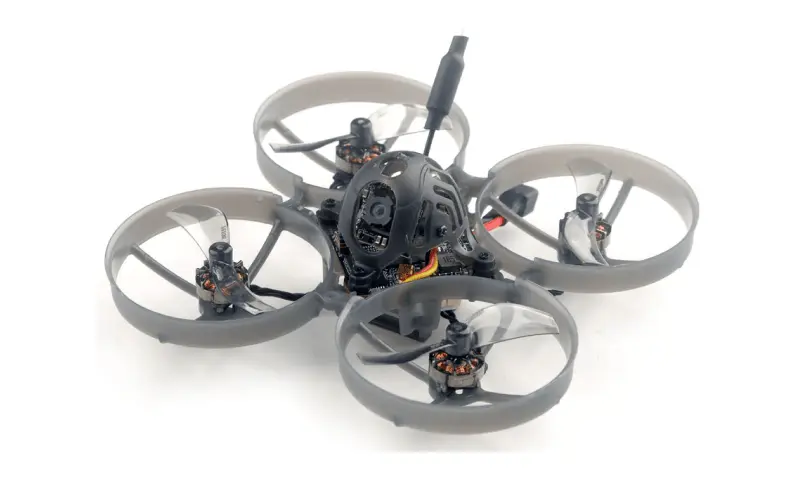
Tinywhoops are extremely small and lightweight FPV drones with protected propellers. Their size, measured diagonally from one motor to another, is usually around 65–85 mm. They typically weigh about 20–30 g.
I always recommend starting with this type of drone because tinywhoops are one of the fastest ways to learn the basics of FPV: control coordination, control response, basic acrobatics, and flight orientation. Friends who ignored my advice and started with larger drones instead (cinewhoops or, especially, freestyle drones) eventually changed their minds after a crash or two and bought a tinywhoop anyway.
Why? They are quite difficult to break. If you start with larger and more powerful drones, your first crashes can be much more expensive (you’re lucky if only the propellers break rather than something like the flight controller).
Main advantages:
- Relatively safe
- Crash-resistant (especially important for beginners or more advanced pilots who want to start practicing more complex maneuvers)
- Less expensive
- Can be flown in small indoor spaces
- Crashes are usually less expensive
This type of drone is perfect for:
- Indoor flying
- Training
- Beginner FPV pilots
- Small-scale racing
Disadvantages:
- Low power
- Limited video range
- Poor outdoor performance in windy conditions
- Usually shorter flight time
How much experience do I need?
Many pilots start by practicing in FPV simulators. I recommend getting at least 10 hours of simulator practice before flying a tinywhoop for the first time.
A tinywhoop is one of the best FPV drone types for beginners. However, learning FPV in general is considerably more difficult than learning to fly a regular camera drone. By the way, the same tinywhoop models can come in racing or freestyle versions depending on the motors they are equipped with (the higher the motor KV, the more aggressive the little drone — so even the same tiny drone can be quite difficult to control).
Popular tinywhoop models:
Toothpick drones
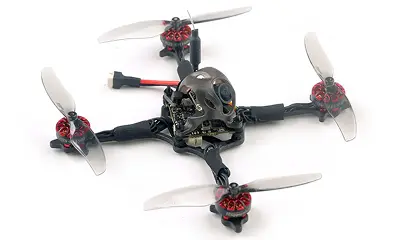
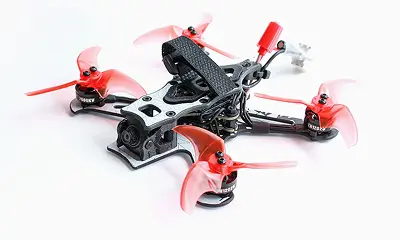
Toothpicks are extremely lightweight FPV drones with exposed propellers, sometimes also called micro drones. They typically use 2–3-inch propellers and weigh just 40–120 g (without the battery). Although their size makes them look like smaller freestyle drones, their low weight makes them considerably more efficient and more forgiving in minor crashes.
This category emerged as a middle ground between tinywhoops and full-size freestyle drones. Toothpick drones offer considerably more power than tinywhoops while remaining lightweight enough to fly even in smaller spaces.
Main advantages:
- More speed and power than tinywhoop
- Longer flight time
- Handles wind better than tinywhoops
- Very quiet (compared to a 5-inch freestyle drone)
- Crashes are usually less destructive than with larger FPV drones
- Can often be flown in places where a 5-inch drone would be too dangerous or too noisy (e.g., parks)
This type of drone is perfect for:
- Freestyle training
- Flying in parks, backyards, and playgrounds
- Light dynamic filming
Disadvantages:
- Exposed propellers make them less forgiving than tinywhoops
- Not suitable for flying close to people
- Less resistant to strong winds than a 5-inch freestyle drone
- Limited payload capacity — usually cannot carry a full-size action camera
- More sensitive to sudden wind gusts due to their low weight
How much experience do I need?
Moderate.
A toothpick is often a pilot’s first “real” freestyle-type drone after a tinywhoop. Although toothpicks are lighter and more forgiving of mistakes than 5-inch models, you should already know how to:
- Fly in Acro mode
- Control altitude and speed
- Plan flight paths
- Fly safely in open spaces
Before moving on to a toothpick, I recommend getting at least 10–20 hours of practice in a FPV simulator or a good amount of real-world flying experience with a tinywhoop
Popular toothpick models:
Cinewhoop drones
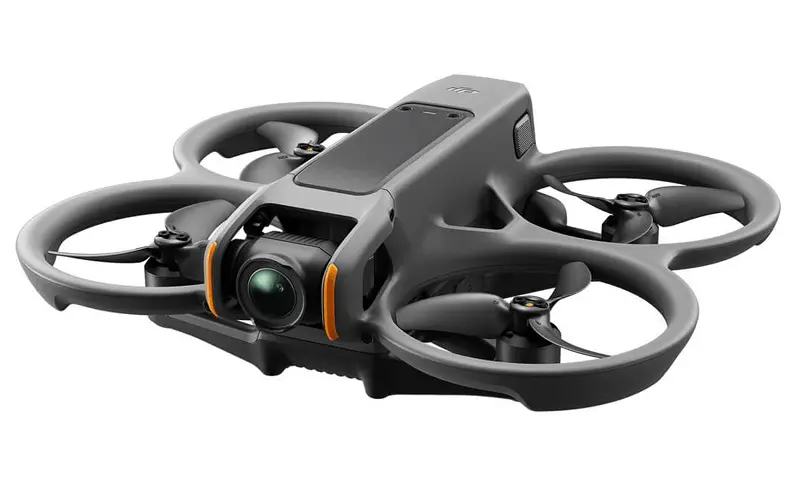
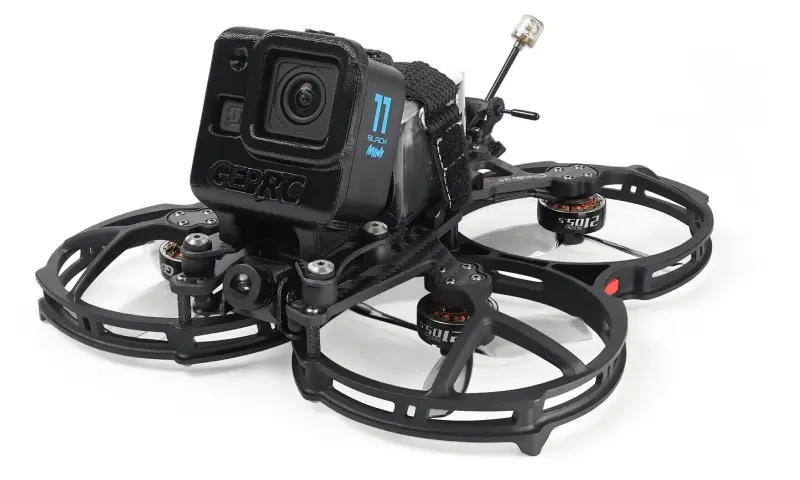
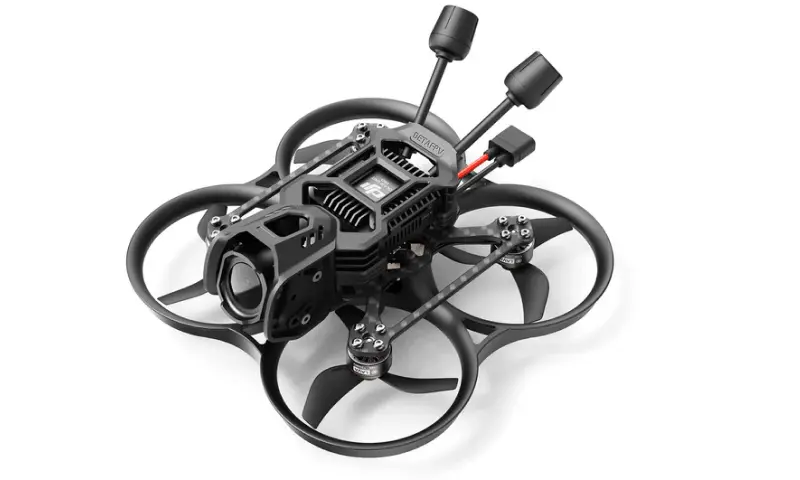
Cinewhoop drones are FPV drones designed for cinematic filming. Their propellers are typically 2–3.5 inches in size. Just like tinywhoops, cinewhoops usually have propeller guards.
If a digital FPV video system is used, the drone will usually also have a camera capable of producing stabilized footage. With an analog system, the drone is more likely to be designed to carry a separate action camera, such as a GoPro or DJI Osmo Action.
These drones also have a smoother flight profile and are therefore less aggressive than freestyle drones.
Main advantages:
- Very immersive shots
- Can fly in tight spaces
- Dynamic footage
- Safer around people than freestyle drones with exposed propellers
This type of drone is perfect for:
- Indoor filming (especially popular for real estate videos)
- Filming cars
- Events
- Dynamic flights between objects
- Cinematic FPV shots
Disadvantages:
- Shorter flight time
- Heavier than tinywhoops and toothpicks
- More difficult to control
- Require more maintenance and repair knowledge (FPV drones really do “break.” There’s a saying that drones don’t reach the end of their service life — they simply get broken.
How much experience do I need?
Somewhere between moderate and a lot.
Although a cinewhoop is not as aggressive as a freestyle drone, the pilot still needs good control over FPV flight:
- Precisely control the flight path
- Control speed
- Maintain smooth and stable movement
- Fly safely close to objects
Before moving on to a cinewhoop, I recommend getting some real-world experience with a tinywhoop or at least 20 hours of practice in FPV simulator.
Popular cinewhoop models:
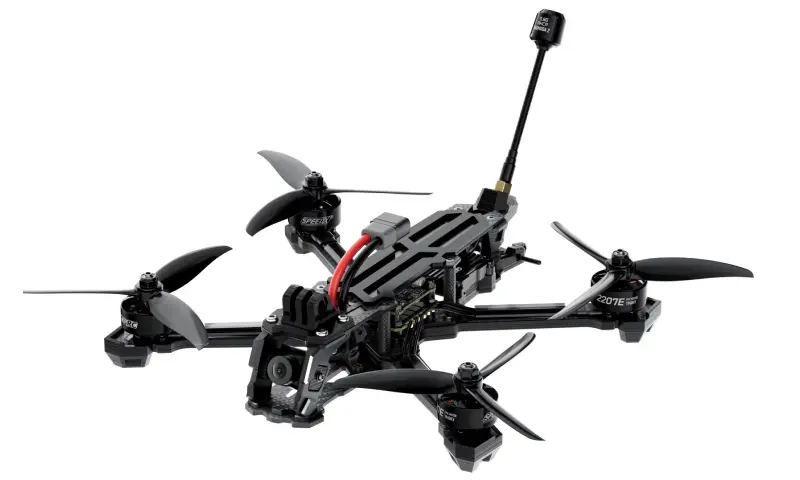
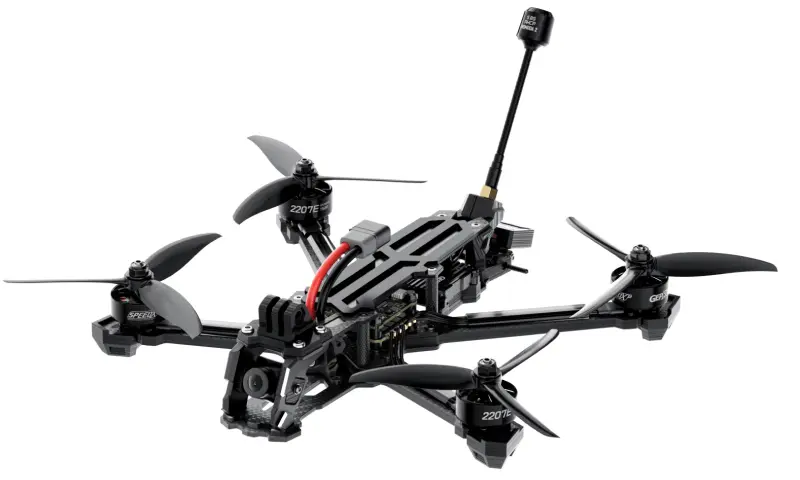
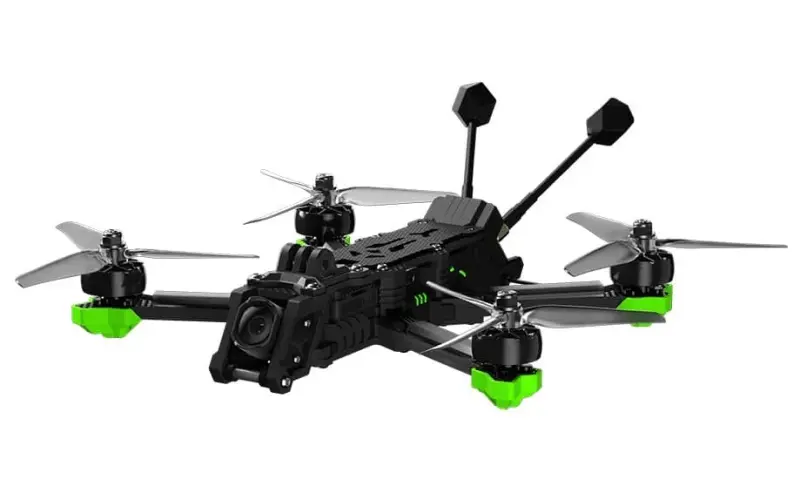
Freestyle drones
Freestyle drones are designed for maximum maneuverability and acrobatics. Typically, freestyle FPV drones use 5-inch propellers, although there are also micro freestyle drones with propeller sizes similar to cinewhoops — around 2.5–3 inches.
These are the FPV drones you often see on social media performing:
- Flips in different directions
- Power loops
- Complex acrobatic tricks
Main advantages:
- Very high speed
- Maximum maneuverability
- High power
- Impressive acrobatic maneuvers
This type of drone is perfect for:
- Acrobatics
- Creating content for social media
- Dynamic filming
- FPV community events
Disadvantages:
- High risk of crashing
- More expensive crashes
- Need for repair skills
- Short flight time
- Steep learning curve
How much experience do I need?
A lot.
Freestyle is one of the most difficult styles of FPV flying to master. Pilots often spend dozens or even hundreds of hours in FPV simulators before they start flying more aggressively (of course, you can fly carefully without spending 100 hours in a simulator — but having a Ferrari in your garage and never wanting to push it a little would be a sin… probably).
Since crashes are a normal part of the hobby, you also need to understand things such as:
- Soldering
- Drone building and repair
- Basic electronics
- Betaflight configuration (Betaflight is basically the software that runs the drone’s flight controller — think of it as something like Windows for your FPV drone)
Some of the more popular models:
Long range drones
Long range FPV drones are designed for long-distance flights. Their propellers are usually 6–7 inches or larger (the last one I built was a 10-inch drone, and I also have a frame for a 13-inch drone at home. I’ve even seen people I know build 15-inch giants). A long range drone definitely shouldn’t be your first drone.
Their purpose is not acrobatics, but efficient and stable flight over long distances.
Main advantages:
- Very long range
- Longer flight time
- Efficient energy use
- Impressive landscape footage
This type of drone is perfect for:
- Filming in the mountains
- Nature footage
- Exploration
- Long cinematic flights
Disadvantages:
- Complex configuration
- Requires powerful communication systems
- Greater risk of losing the drone
- Higher safety requirements
- In my home country, Lithuania, it can be quite difficult to find places where flying these drones is legal due to the requirement to keep the drone within visual line of sight (VLOS). If you have authorization to fly beyond visual line of sight (BVLOS), I’m not sure why you’re reading this article 😀 — this is an article for beginners.
How much experience do I need?
A lot. And it’s not even about controlling the drone.
A Long Range drone pilot needs to understand:
- Radio communication systems
- How antennas work
- GPS systems
- How batteries work
- Safety procedures
- Weather conditions
This is by no means a suitable choice for a beginner.
Camera drones vs FPV drones: What’s the difference?
The main difference comes down to the philosophy behind flying them.
However, neither one is better or worse. It’s like asking which is better — an iPhone or a Samsung smartphone. You could start a whole religious war trying to find the answer. Personally, I started with a camera drone and soon moved on to a tinywhoop.
Camera drones:
- Stable in flight
- Highly automated, with many different sensors
- Easy to control and quick to learn
- Focused on high-quality footage
- Suitable for beginners
- Usually have GPS and safety systems
FPV drones:
- Fast
- Require much more manual control
- Require more skill
- Focused on the flying experience and dynamic movement
- Often require repairs and technical knowledge
So:
- Want to simply film your vacation trips → camera drone
- Want to experience some adrenaline and learn acrobatics → freestyle FPV drone
- Want to create dynamic videos → cinewhoop FPV drone
What is a BNF FPV drone?
BNF stands for “Bind and Fly.” BNF drones can be found in all of the FPV categories mentioned above. They are simply FPV drones that come almost fully assembled from the factory (most of the popular FPV models mentioned above are BNF drones). You usually only need to:
- Bind the drone to the controller
- Connect the FPV goggles
- Connect a battery
- Perform some minimal configuration (and often even that isn’t necessary)
A BNF package usually does not include a controller, FPV goggles, batteries, or a battery charger. That’s why it’s important to make sure all of your equipment is compatible before buying.
BNF drones are very popular among pilots who:
- Don’t want to solder anything themselves
- Have no experience building drones
- Simply want to start flying sooner
It is especially important to understand that buying a BNF FPV drone doesn’t make the drone any easier to fly. It still requires exactly the same piloting skills as an equivalent drone you build yourself.
Also, even if you don’t want to solder anything yourself or have no experience building drones, you’ll most likely have to learn those skills eventually anyway. As the saying goes, “A drone doesn’t wear out or become obsolete — eventually, it simply crashes.”
What is a PNP FPV drone?
Although “Plug and Play” sounds very simple — just take it and use it — when it comes to drones, that isn’t entirely true. PNP stands for “Plug and Play” and can be thought of as a variation of a BNF drone.
A PNP drone is already almost fully assembled — the only thing missing is the radio receiver, which you’ll need to buy separately and solder in yourself.
Which receiver should you choose? That depends on your FPV controller. In 9 out of 10 cases, it will be a 2.4 GHz ELRS receiver.
Are FPV drone starter kits worth it?
This is one of those questions I don’t have a strong opinion on. FPV drone starter kit, also known as RTF (Ready to Fly), is a package that includes:
- A drone
- FPV goggles
- A controller
- Usually some batteries and a charger as well
There are tinywhoop starter kits (for example, the BetaFPV Cetus Pro FPV Kit), as well as cinewhoop starter kits (for example, the BetaFPV Aquila20 FPV Kit).I don’t really have anything bad to say about them, but I’m not particularly enthusiastic about them either.
The main advantage is that with a single purchase, you get everything you need, and all the components are compatible with each other. You don’t have to worry about radio protocols, configuration, video transmission systems, and so on.
The downside is that the individual components usually aren’t the highest quality. If you do get hooked on the FPV hobby, you’ll probably start upgrading your goggles, controller, and the drone itself pretty quickly. Of course, if you don’t get hooked, at least you won’t have spent too much money. And you shouldn’t have much trouble selling the kit on the second-hand market either.
New starter kits typically cost around $200–300.
BNF vs PNP vs RTF
| Type | What you get | What you still need |
|---|---|---|
| BNF (Bind and Fly) | Assembled drone with receiver | Controller, goggles, battery/charger |
| PNP (Plug and Play) | Assembled drone without receiver | Receiver + compatible equipment |
| RTF (Ready to Fly) | Complete or nearly complete setup | Usually very little |
So, which drone should you choose?
The world of drones is incredibly broad, so the right drone type depends on what you plan to do with it. If simple controls and beautiful footage are your main priorities, a camera drone will undoubtedly be the best option. If you’re looking for adrenaline, speed, and a new technical hobby, FPV drones will give you a lot more excitement — while also requiring considerably more practice.
For beginners, I usually recommend:
- Starting with a small sub-250 g camera drone or a tinywhoop FPV drone
- Practicing in simulators (if you choose the FPV route)
- Learning the basics of flying
- Waiting until much later before moving on to freestyle or long range FPV
Choosing the right first drone will help you learn much faster and enjoy flying without unnecessary frustration. Well, unless you have very deep pockets and an endless supply of patience.
Leave a Reply